
How to Organise the Ableton Live 12 Browser and Workflow
Aug 10, 2026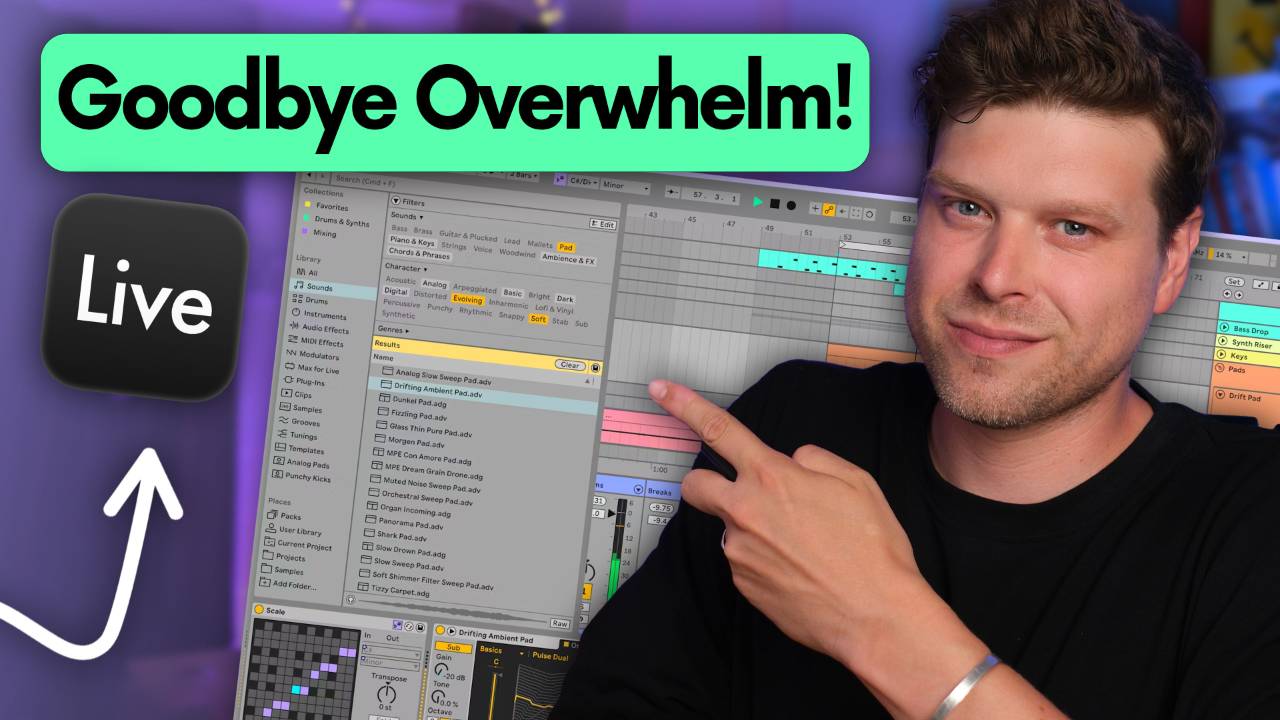
This article shows you how to organise your Ableton Live workflow.
The kind that stops you losing 20 minutes at the start of every session hunting for sounds you already own.
We'll look at the Ableton Live 12 browser, tagging, saved searches, and the user library, and how they work as one system.
I fit all of this in around a full-time job and a family, so anything that wastes 10 minutes doesn't stay in my workflow.
By the end of this article, you'll know how to find any sound or old session in seconds, and keep it that way.
Not another list of features you'll forget by Tuesday.
Let's get to it.
Key Takeaways for a Faster Ableton Live Workflow
- The browser search bar beats scrolling every time. Typing a term or a hashtag pulls up every matching file in Ableton Live, wherever it's buried.
- Ableton Live tags your own samples automatically. The tagging system runs on your content as well as Ableton's, and you can add your own tags on top.
- Saved searches build folders that update on their own. Pin a search to the sidebar and every new file matching those tags shows up without you filing anything.
- The user library remembers more than presets. Drag a saved track into a new session and its plugins and settings come with it, folders included.
- Unfinished ideas need their own folder. A single home for loops and chords that haven't found a song yet means nothing gets lost between projects.
How to Organise the Ableton Live 12 Browser
If you started using Ableton Live today with no system at all, it would take you twice as long to get anywhere.
Too many sounds, too many options, and it gets overwhelming fast.
If that overwhelm sounds familiar, I've covered how to learn Ableton Live without getting overwhelmed in more depth elsewhere, and it's worth a read if you're still finding your feet.
Ableton Live's browser is probably the best of any DAW I've used.
It's quick and it's genuinely unique once you know how to use it properly, but it's also one of the most underused tools in the whole program.
Most producers scroll.
That's the problem.
The search bar at the top does the actual work.
Type a term like bass and every folder with a matching preset or sample shows up, no matter how deep it's buried.
The same search finds plugins too.
Type the name of an effect or instrument and it comes up next to your samples, instead of making you hunt through a separate menu.
Command F opens the browser straight to search on a Mac.
Control F on Windows.
Both work even when the browser is closed, so you don't need to click through to get there first.
Hashtags narrow it further.
Type #kick and every sample tagged kick appears, whether it's factory content or something you dragged in yourself last week.
None of this needs setting up.
It's built in, and most producers never touch it.
None of this touches your actual Preferences either.
If you haven't been through those, there's a separate rundown of the Ableton Live settings worth changing before you go much further.
Scrolling through 40 folders looking for a kick you used back in March isn't a workflow.
It's a way to lose an afternoon.
How to Tag and Organise Samples in Ableton Live
Ableton Live tags your samples automatically, and that includes the ones you've made yourself, alongside the factory content.
Drop a folder of your own sounds into the browser under Places, and Ableton scans it and starts applying tags straight away.
To do that, go to Places and click Add Folder.
Point it at wherever your samples live on your hard drive.
It shows up in the browser from that point on.
If a sample needs a tag Ableton hasn't given it, add one yourself.
Select the sample, type the tag into the tag field.
Kick, snare, whatever fits.
It'll surface in a hashtag search from then on.
The tag editor is where this gets proper control.
Click the small dropdown arrow above the browser results and open it.
It shows every tag on the selected item and the parent tags above it.
The folder it sits in shows up too.
You can build your own tag groups from there too, so your tags become part of Ableton's system instead of sitting outside it.
How to Use Saved Searches in the Ableton Live Browser
Once you've built a search you'll use again, save it.
Run the search, filter it the way you want, kick, analog, one-shots, whatever combination you need, then click the save button in the browser.
It pins straight into the sidebar.
Rename it with Command R so it still makes sense to you later, once you've forgotten what you were thinking when you saved it.
Right-click it for a different icon, and remove it from the sidebar with the same ease if it's stopped earning its place.
The useful bit is that a saved search isn't a snapshot.
It updates itself.
Tag a new sample kick next month, and it shows up in that saved search without you touching anything.
I've built 3 of these for myself.
One's for instruments as VST3.
The other two split Ableton's own stock effects from third-party VST3 effects.
Each one only shows what's in that category, so I'm not scrolling past every plugin I own to find the compressor I want.
That only works once your plugins are showing up in the browser in the first place.
If yours aren't, sort your plugin installation before you build any saved searches around them.
There's no built-in way to add a plain divider to the sidebar, so I made one.
I saved a search for a string of random letters that matches nothing.
Then I deleted the search term and changed the icon.
Click it and it shows no content, which is exactly the point.
It splits my library into sections Ableton never built.
How to Reuse Anything with the Ableton User Library
The user library is the thing I get most excited about in Ableton Live, and I've used Logic Pro and Pro Tools long enough to know there's nothing quite like it in either one.
It saves anything for reuse across every session you open from that point on, well beyond presets and samples.
Drag a saved track into a new arrangement and everything comes with it.
The plugins, stock Ableton or third party, load back in with their settings intact.
The folder structure comes too.
I keep a fully built drum arrangement in mine, plugins, levels, and all, so any new session I start drops straight in with drums already sorted instead of built from scratch.
Saving more than one track works the same way.
Click the first track, then the last one.
Drag the top track into the user library and give it a name.
Drag that back into a new Live set later and every track comes back exactly as you left it.
There's one limitation worth knowing before it catches you out.
You can't save a search from inside the user library itself, only from Places.
If you want a pinned shortcut into something inside the user library, like your Splice folder, click into it and use the plus button there instead.
How to Build Your Own Sample Library in Ableton Live
People often ask where I find all my Splice samples.
The honest answer is that Ableton already knows, because every Splice download lands in a Splice folder inside your user library, under samples, and gets tagged splice automatically.
That auto tag doesn't always catch newly added files straight away.
If one's missing it, tag it yourself and it'll behave like the rest from then on.
The bigger problem for most producers is the loops and chords that never made it into a finished track, not Splice.
I call mine the loop graveyard.
It used to sit there and grow, with nothing done about it.
Now it has somewhere to go.
I keep an orphanage folder in my user library for exactly that.
Anything I've carved out of an old session that hasn't found a home yet lives there, and every so often I go back through it to see if something fits a track I'm working on now.
It's a small folder, but it's the difference between an idea being lost for good and an idea being one search away from getting used.
Final Thoughts on Your Ableton Live Workflow
Everything above makes you faster inside Ableton Live.
None of it, on its own, finishes a track.
That's not this system's job.
Speed and organisation get you to the point where you can start and develop an idea without losing 20 minutes first.
Finishing what you start is a separate skill, and it needs its own approach.
I think this matters enough that I built a whole module around it inside my Ableton Live 12 course.
It's long.
Some students call it heavy going before they start.
Every one of them comes back afterwards and says it's the module that changed how they use Live day to day.
I call mine Ableton OS.
It's how I get ideas down and build on them, then finish tracks around a full-time job and a family, not instead of them.
Set your browser, tags, saved searches, and user library up the way this article covers, and the time you get back is real.
What you do with that time next is worth its own article.
To see everything mentioned in this article in action, you can do so in this video here.
Frequently Asked Questions
Where do Splice downloads go in Ableton Live?
Every Splice download you pull into a Live set lands in a folder called Splice, inside your user library, under samples.
Ableton tags it splice automatically as soon as it lands there.
Newly added files sometimes miss that tag for a moment.
If that happens, select the sample and add the tag yourself, and it'll behave like the rest of your Splice library from then on.
You don't need to move anything or set up a separate folder.
Ableton's already done that part for you.
Does Ableton Live automatically tag your own samples?
Yes.
Ableton Live runs its tagging system on your own content, not just the factory library.
Drop a folder into Places and it starts analysing and tagging straight away.
The automatic pass catches loops and one-shot samples reliably, and drum hits come through fine too.
It's less consistent on longer or more unusual files.
When a tag's missing, add it yourself through the tag field, and it works exactly like an automatic one in every search from that point on.
Can you save a search inside the Ableton user library?
No, not directly.
Saved searches work from Places, not from inside the user library itself.
If there's a folder in your user library you want quick access to, like a Splice folder or your own samples, open it and use the plus button there instead.
That pins the folder straight into your sidebar.
It does the job, even if it's not quite a live saved search.
What's the difference between tags and Collections in Ableton Live 12?
Collections are the original system, 7 colour-coded sections you assign items to for quick access.
Tags are newer and go much further.
You can create as many as you need, so you're not boxed into 7 categories.
Live 12 lets you use both together.
Collections are still handy for a short list of favourites.
Tags are what scale once your library gets big, which for most producers happens fast.
What's the keyboard shortcut for the Ableton Live browser search?
Command F on a Mac, Control F on Windows.
Both jump straight to the search field in the browser, even if the browser's currently closed on screen.
Type your term and Ableton searches your whole library at once.
It finds plugins as well as samples.
It's one of the few shortcuts worth learning in your first week with Live, because it replaces so much scrolling on its own.
About the Author
Craig Lowe is a professional touring playback engineer, Ableton Live specialist and educator based in the UK.
He has over 10 years of teaching experience, online at Push Patterns and at universities including ICMP, BIMM, ACM and ThinkSpace Education.
His Ableton programming credits include Sam Fender, Melanie C, Years & Years and Skunk Anansie.
He runs Push Patterns, where over 1,000 students have learned to produce and perform with Ableton Live, at pushpatterns.com.
If you are interested in learning Ableton Live 12 or the Push 3 in a bit more detail, check the course here:
