
15 Ableton Live Tips I Wish I Knew 15 Years Ago
Sep 10, 2026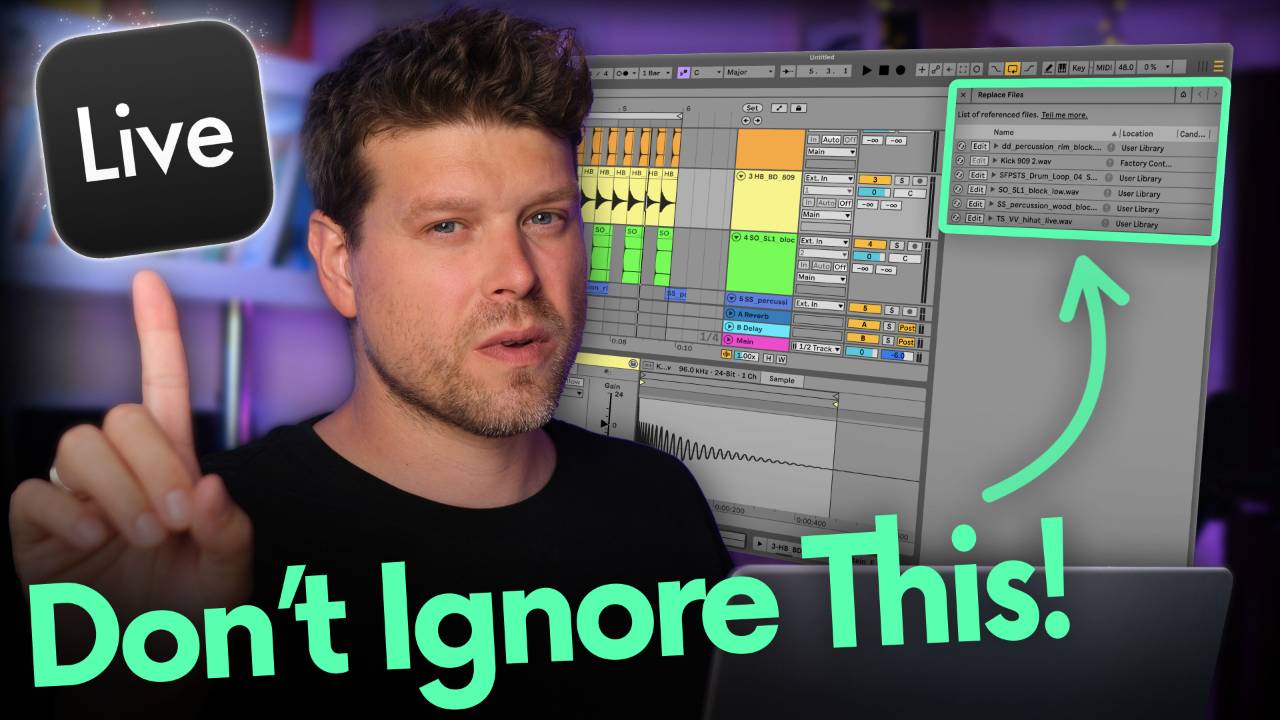
This article shows you 15 Ableton Live tips I wish I'd known when I started.
We'll look at finding sounds faster in the browser, the shortcuts worth learning, mixing tricks with stock devices, racks, templates and Ableton Cloud.
These took me 15 years of producing, touring and teaching Ableton Live to collect.
A few of them completely changed how I work.
By the end of this article, you'll know how to move around Ableton Live faster and spend more of your studio time making music instead of hunting for things.
Let's get to it.
Tip 1, Search the Ableton Live Browser From Anywhere With Cmd+F
The first thing you need in Ableton Live is a sound, and to get one you have to face the browser.
The problem with Ableton Live's browser is it's confusing, and a lot of the time it's where ideas go to die.
You can easily spend over an hour looking for a sound.
Press Cmd+F on a Mac or Ctrl+F on Windows and the browser search opens, wherever you are in the program.
Type synth and everything with synth in the name appears.
Refine it with the filters. Choose Instrument and you're looking at synth instruments only.
The neat part is it works mid-task. You can be deep in a device on a return channel, have an idea for a sample, hit Cmd+F and you're straight in the search.
The catch is the search needs the word in the file name.
Tip 2, Search by Tag in the Ableton Live Browser With Hashtags
That file name catch is exactly what hashtag search gets around.
Type a hashtag before your term (Option+3 gets you # on a Mac) and the browser searches by tag rather than name.
Hashtag synth pulls up everything tagged as a synthesizer in devices, which is a far more refined result.
Ableton Live tags its own library automatically.
Anything you drag in yourself can be tagged by hand in a few clicks. I dragged in a Max for Live device, tagged it Max for Live and synth, and now it turns up where I'd expect it.
Tip 3, Display View Shortcuts That Speed Up Your Ableton Live Workflow
Ableton Live's window gets crowded fast, and the buttons that close its panels are tiny.
These shortcuts replace them.
Cmd+Option+B opens and closes the browser. On Windows it's Ctrl+Alt+B.
Cmd+Option+4 toggles the device view. Ctrl+Alt+4 on Windows.
Cmd+Option+3 toggles the clip view. Ctrl+Alt+3 on Windows.
You can have clip and device view open at once, but the better move is Shift+Tab, which flips between the two instantly. Same shortcut on Windows.
That one alone wins you back hours. Think of the microseconds you'll reclaim for coffee.
Tip 4, Swap Sounds Fast With Ableton Live's Similar Sound Search
Similar sound search exists because the perfect sample doesn't exist.
Inside a drum rack, click the arrows button on a pad and Ableton Live searches its sample library for sounds like the one loaded.
You can audition replacements without leaving the rack, or switch out every pad at once from the top.
It works on samples only. Plugins won't change.
The same feature lives in the browser. Click the similar sound search dial next to any sample and you get a list of samples that sound like it.
Tip 5, Hot Swap a Sample Across the Whole Arrangement in Ableton Live
This one saved me hours of dragging samples across the page.
Say a kick sample runs right across your arrangement. Double click one instance to open the clip view, right click the file name link at the top, and choose Manage Sample File.
You now have a hot swap button.
Pick a new kick, double click it, and every instance of that sample across the whole arrangement swaps at once.
You can do it in real time while the track plays. Turn off the preview headphone dial and audition kicks in context, one double click at a time.
Tip 6, Time Based Shortcuts for Arranging Faster in Ableton Live
These time based shortcuts saved my skin on my first programming gig.
They're one of the main reasons I switched to Ableton Live and stayed. In my view they put Logic and Pro Tools to shame.
Cmd+Shift+Delete on a Mac, or Ctrl+Shift+Delete on Windows, deletes a time selection and pulls everything after it across.
Cmd+Shift+D on a Mac, or Ctrl+Shift+D on Windows, duplicates everything inside the selected time.
Cmd+I on a Mac, or Ctrl+I on Windows, inserts a bar of silence and shifts the arrangement along.
Cmd+Shift+C on a Mac, or Ctrl+Shift+C on Windows, copies everything in a time selection. Cmd+Shift+V, or Ctrl+Shift+V on Windows, pastes it wherever you drop the marker.
If you've ever dragged a whole chorus across the page clip by clip, you know exactly what these are worth.
Tip 7, Tighten Splice Loops With Beats Warp Mode and Transients
A sloppy Splice loop will muddy your groove, so this is worth doing on every percussion loop you pull in.
Open the clip and set the warp mode to Beats.
Set it to preserve Transients, then switch to the arrow setting.
Now pull the tail length down.
The transients stay, the smear between hits goes, and the shaker sits tight against your drums.
Tip 8, Save Parallel Compression as a Preset With Ableton Live Racks
Parallel compression is in every DAW. The way Ableton Live handles it is genuinely unique.
The usual route is a return track, which works, but you can't save that setup as a preset and drop it into another project.
Here's the rack version. Put a compressor on your drum track, set a fast-ish attack and a fast-ish release, and drive it hard until it's completely squashed. I used an 1176 style compressor with every button pushed in.
Press Cmd+G (Ctrl+G on Windows) to group it into an audio effect rack.
Open the chain list, right click, and choose Create Chain. That new chain has no effects on it, so the rack is now splitting your audio in parallel rather than in series.
Rename the chains dry and wet with Cmd+R (Ctrl+R on Windows) and blend the squashed signal in behind the clean one. You get that fat parallel compression sound and keep your dynamics.
The best bit is the save dial on the rack. Click it, name the rack (mine's called drum comp), and it's saved to your user library as a preset you can drag into any project.
Tip 9, Map Macros to Switch Devices On and Off and Save CPU
This macro trick is one for live performance.
Say you have an Auto Filter in highpass mode on your master. Left on, it's always shaving a little off the low end even at rest.
Group it into a rack with Cmd+G and open the macros.
Enter Map mode and map the filter dial to a macro. Then click the Device On button and map it to the same macro.
In the mapping list, set the Device On minimum to 5.
Now the filter switches itself off when the macro returns to zero and wakes up the moment you turn it.
The reason this matters live is that Ableton stock devices use no CPU when they're off. A live set is all about efficiency, and these small moves protect your show file.
Tip 10, Store Sounds as Snapshots Inside an Ableton Live Rack
Snapshots are such a criminally underused feature.
Build up a set of macros on an instrument rack and every position of those dials is a sound.
Snapshots store each one as a recallable preset inside the rack.
One click and you're on a different sound, without ever opening the browser or leaving your project.
If you use presets of the same instrument, use snapshots.
Tip 11, Save Audio and Instrument Racks to Your User Library
The same save dial from the drum comp trick copies any audio or instrument effect rack into your user library.
I have a vocal chain saved this way, tuning, effects and parallel compression included.
In a new session it's one drag and the whole thing is set up.
Tip 12, Find Ableton Live's Hidden Performance Racks
Most people don't know these exist, because they're buried in the darkest corners of the browser.
The path is Packs, then Core Library, then Racks, then Audio Effect Racks.
In there you'll find racks like Performance DJ, ready to drag in and play.
To skip the trek next time, hashtag search performance and DJ, then save the search.
Try Dawn Shimmers and save it for a rainy day.
Tip 13, Build a Dynamic EQ With EQ Eight and an Envelope Follower
Ableton Live's stock devices are missing a dynamic EQ like FabFilter Pro-Q 3 or 4.
You can build one from EQ Eight.
Drop EQ Eight on your kick track and find the fundamental, the big spike in the low end. That's the frequency fighting your bass.
Set that band's gain back to zero and copy the EQ Eight onto the bass track.
Get an Envelope Follower from the Modulators and put it on the kick track.
Switch it to Remote, set it to 50%, press Map, and map it to the gain of that band on the bass track's EQ Eight.
Set the band's gain to zero, then adjust downwards to around minus 4.
Now every time the kick hits, the bass ducks out of its way at that one frequency.
The low end of the kick punches through and the bass fills the space between hits. Play with the Q until the balance sits right.
Tip 14, Save and Use Templates to Finish Tracks Faster in Ableton Live
This is the one that helps me finish songs faster than anything else on this list.
Go to File and choose Save Live Set as Template.
If you're not sure what belongs in one, it's everything you load again and again. If every session starts with you adding 8 audio tracks, an EQ Eight and the same preset, that's your template.
Mine has drum and bass tracks with sounds loaded, a sidechain track feeding the compressors, a set of preset sounds, and tracks ready for Splice loops with a Utility set to minus 8 so they mix themselves in.
The template I actually use is a free download, and I walk through every track in my default Ableton Live set so you can build your own or start from mine.
You can set one as your default template, but it's worth having a few. A song creation template, a mixing template, a song finishing one.
The point is the same either way. You open Ableton Live and the boring setup work is already done.
Tip 15, Send Move and Note Ideas to Ableton Live With Ableton Cloud
Ableton Cloud is one of Ableton's secret superpowers, and it means your ideas don't have to start in Ableton Live at all.
Go to Settings, then Library, and turn on Show Cloud.
Scroll down to Places in the browser and Cloud appears. Sign in the first time you click it.
If you have an Ableton Move or use Ableton Note on your phone, sign in on those too, with the same account.
Now projects you start on Move or in Note upload straight into Live's browser.
Double click one and it opens with every sample in place. No stemming, no exporting. It sounds exactly the same as it did on your phone.
The bit people miss is the drop-down arrow next to a Cloud project. You don't have to open the whole thing. You can drag individual tracks, or the MIDI files alone, into the session you already have open.
Getting an idea from your phone into a finished track is the whole point of the setup I call Ableton OS, and I broke down how the full Ableton OS workflow fits together in its own article.
Start an idea on the sofa, drag it into your template, refine it and finish it. That's a complete creative workflow, and the computer is only the last step.
Final Thoughts on These Ableton Live Tips
You don't need all 15 of these Ableton Live tips at once.
Pick the 2 or 3 that fix your biggest daily annoyance and use them until they're muscle memory. Then come back for more.
If you want the full workflow rather than 15 tricks in isolation, from first idea through to a finished track, that is what my Ableton Live 12 course is built around.
Every one of these would have made my life easier from the start. You get them without the 15 years.
About the Author
Craig Lowe is a professional touring playback engineer, Ableton Live specialist and educator based in the UK.
He has over 10 years of teaching experience, online at Push Patterns and at universities including ICMP, BIMM, ACM and ThinkSpace Education.
His Ableton programming credits include Sam Fender, Melanie C, Years & Years and Skunk Anansie.
He runs Push Patterns, where over 1,000 students have learned to produce and perform with Ableton Live, at pushpatterns.com.
If you are interested in learning Ableton Live 12 or the Push 3 in a bit more detail, check the course here:
