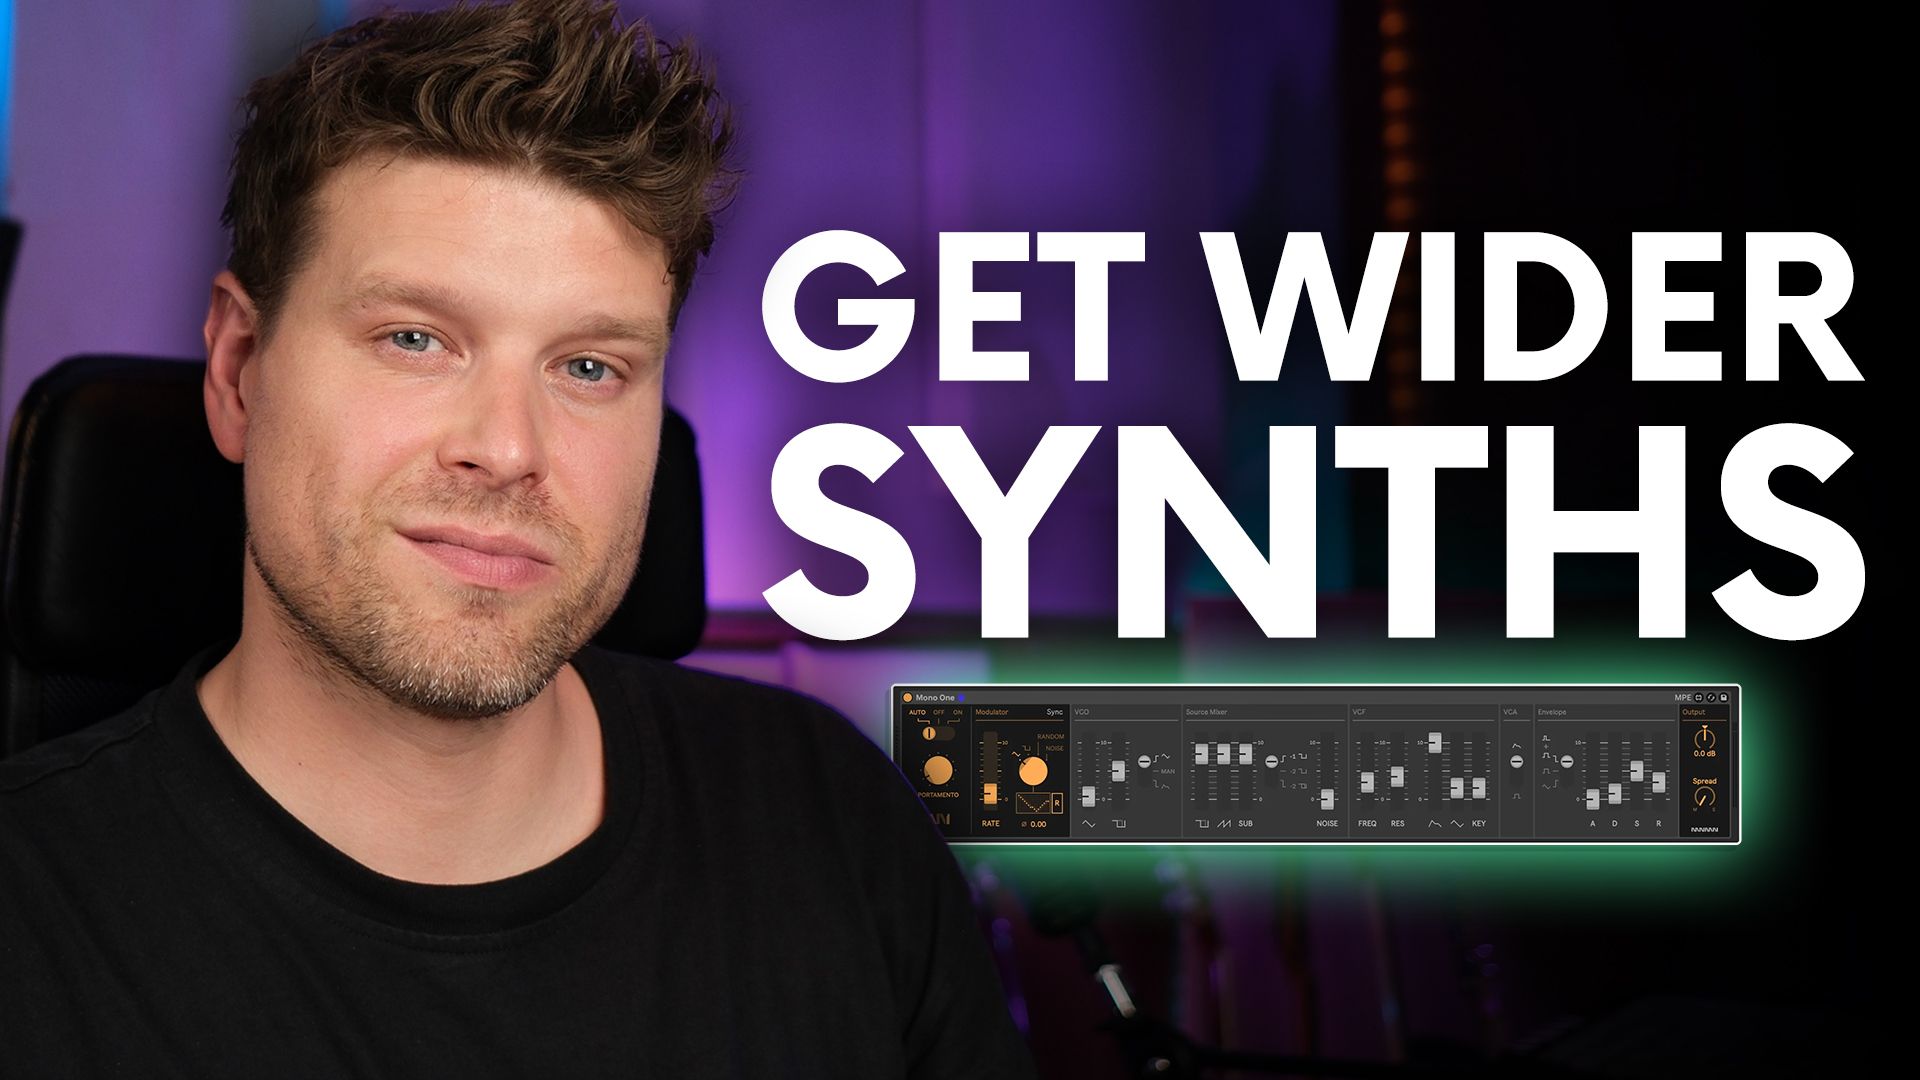
Why Mono Might Sound WIDER Than Stereo
Dec 01, 2025
Why Mono Might Sound WIDER Than Stereo
A mono synth can make your pads sound wider than you'd expect. The trick lies in the "Mono Stack Method," a clever technique that uses multiple mono tracks to create rich, stereo-like width without needing stereo effects.
Key Points
-
Mono stacking splits chord voices into separate tracks
-
Panning and variation creates width and movement
-
Multi-clip editing makes arranging faster
-
Map 8 macro tool simplifies parameter control
-
Great for organic stereo width in pads
What Is the Mono Stack Method and Why Use It?
The Mono Stack Method involves splitting each note of a chord across multiple mono synth tracks. This approach creates natural stereo width without relying on effects like chorus or reverb. It’s especially effective for pad sounds in electronic music.
When you compare a standard chord patch with one made using a mono stack, the difference is immediately clear; the mono stack feels wider and fuller, even though it uses the same synth.
How Do You Set Up the Mono Stack Method in Ableton Live?
-
Start with your synth chord track.
-
Duplicate the track for each note in the chord. If your chord has 3 notes, duplicate it two times.
-
Isolate one note per track:
-
Track 1: Keep only one note (e.g., root)
-
Track 2: Keep the second note (e.g., third)
-
Track 3: Keep the top note (e.g., fifth)
-
-
Optionally, duplicate one voice and pitch it up an octave for extra colour.
This separation allows you to treat each voice independently.
How Do You Make Each Voice Sound Wider?
-
Pan each track slightly left and right to spread them across the stereo field.
-
Think of it like a vocal stack; layering and panning gives width.
-
You can duplicate some voices and pan them opposite for more presence.
Then, tweak each synth voice slightly:
-
Change modulation or DCO settings just a little
-
These subtle differences make the sound feel more alive and wide
How Can You Edit All These Tracks Efficiently?
Editing multiple parts can seem tedious, but Ableton’s multi-clip editing makes it simple:
-
Group all your mono tracks using Command/Control + G
-
Enable multi-clip editing to view all parts in one piano roll
-
Add or tweak notes across parts without switching tracks
This saves tons of time and helps keep your layers in sync.
How Do You Control All Filters with One Macro?
Having multiple synths means multiple filters, but you can control them with one knob using Ableton’s Map 8 (from the Max for Live Essentials pack):
-
Drag Map 8 onto the group
-
Use the map button to assign each synth’s filter cutoff to one of the eight slots
-
Group Map 8 with Command/Control + G and map all to Macro 1
-
Name it something like "Filter"
Now, one knob tweaks all filters in sync, great for automation and live tweaking.
FAQs About the Mono Stack Method
1. Why not just use stereo effects instead?
Stereo effects can sound artificial. Mono stacking creates real width by using separate, unique voices.
2. Is this method only for pads?
No, it works for leads, vocals, and more. Pads just show the effect clearly.
3. How many tracks should I stack?
One per chord note is standard. Add extra voices (like octaves) for flavour.
4. Do I need expensive plugins?
No, just stock Ableton tools plus the free Max for Live Map 8 device.
5. Can I automate other parameters?
Yes, use Map 8 for any parameter you want to control across tracks.
Final Takeaway: Make Mono Work for You
The Mono Stack Method is a powerful, free way to add width and depth using only mono sources. Don’t underestimate mono; when layered and panned thoughtfully, it can outperform basic stereo patches in clarity and impact.
If you are interested in learning Ableton Live 12 or the Push 3 in a bit more detail, check the course here:

