
Novation Launch Control XL MK3 Review: OLED Screen, MIDI I/O and Ableton Live Setup
Mar 29, 2026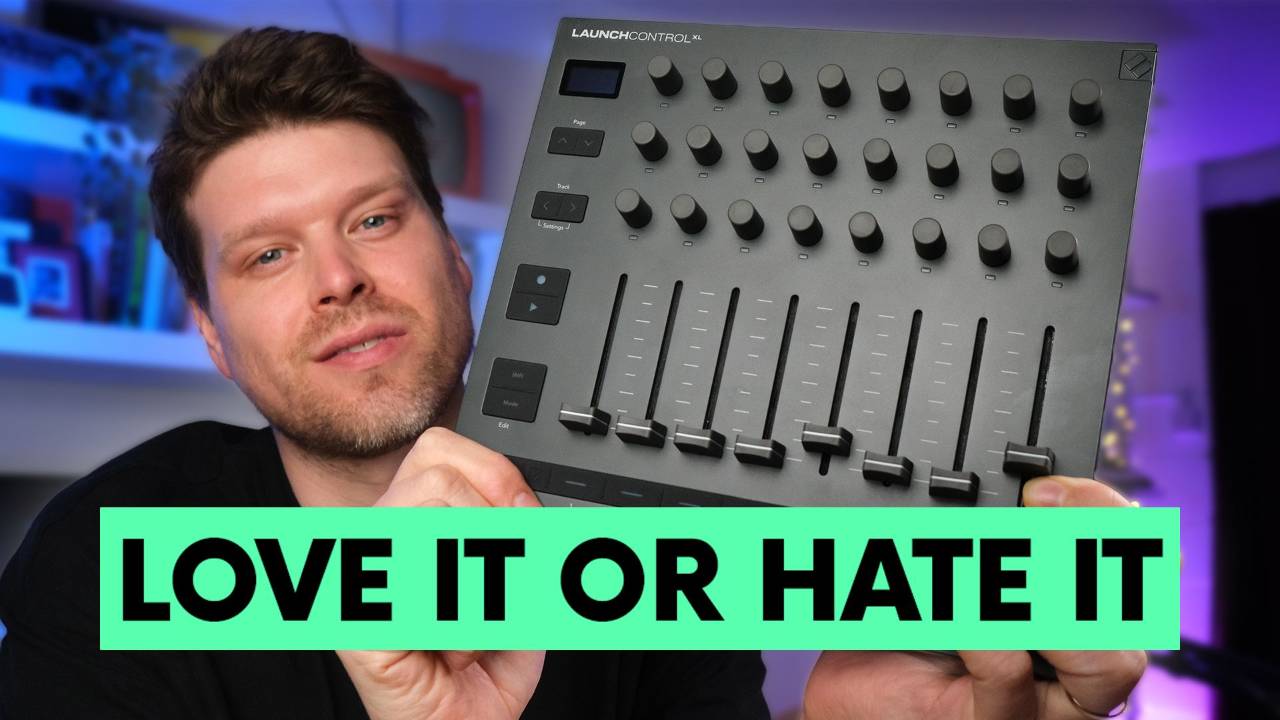
I've had the Novation Launch Control XL MK3 on my desk for over 2 weeks, putting it through its paces and I have been pleasantly surprised. There are 3 features on this controller that make it genuinely interesting, and one change that you absolutely need to know about before you buy.
Before we get into the three things, let's get an overview of how the launch control XL MK3 works.
How the Launch Control XL MK3 Is Organised
Here's how to use the Launch Control XL MK3 across all three modes.
The Launch Control XL MK3 runs in three modes.
You have two DAW modes and a custom mode where you can save up to 16 different presets.
The mode button on the controller lets you switch between DAW Control, DAW Mixer, and all 16 of your custom preset banks.
In both DAW modes, the faders and buttons stay the same across the whole controller.
The only thing that changes between the two DAW modes is the three rows of encoders at the top.
DAW Mixer Mode
In DAW Mixer mode, the first row of encoders handles panning.
If you're in Ableton Live, pan left and it goes blue, pan right and it goes orange, get it back to centre and it turns white.
The top two rows of encoders control your sends, so you have send A and send B mapped straight away.
If you've got more than two sends, the page button jumps you down to the next pair.
You can also shift through tracks eight at a time by holding the shift button.
The faders handle your track volumes and those stay consistent whether you're in DAW Mixer or DAW Control.
The buttons along the bottom let you solo tracks, arm tracks, and select tracks.
DAW Control Mode
DAW Control mode optimises that first row of encoders for arrangement view work.
You get transport playback, track zoom, loop position, loop end point, loop on and off, marker select, and tempo control all mapped up.
Personally, I won't be using the controller for the arrangement view stuff because I find it quicker to do that directly in the DAW.
But it's there if you want it.
The top two rows of encoders in this mode are where it gets more useful for me.
They map to the instrument and audio effect parameters on whatever track you've got selected.
So if you select a track, those encoders will control the macros or device parameters sitting on it.
Select a different track, the encoders follow and control that one instead.
Custom Mode
Custom mode gives you 16 banks of completely customisable presets.
Every button, fader, and encoder can be set to do whatever you need.
You set it all up through the Novation Components app, which you can either download or access through the Novation website.
Inside Components, you can change colours, assign CC messages, set MIDI notes, build program changes, and create your own performance templates from scratch.
There are also some handy presets on the left-hand side of the app that you can just send straight to the controller.
So that's how it works. Now, let's look at the three new features of the Launch Control XL3 that set it apart from most other MIDI controllers in the same price range
Feature 1: The OLED Screen
The first of the three standout features is the OLED screen in the top left corner.
When I first saw it, I genuinely thought, Is this really going to make a difference?
It does.
When you adjust a fader or turn an encoder in Ableton Live, the screen tells you the name of the track and the parameter you're changing in real time.
On most controllers, you have no idea what you're controlling unless you're staring at your laptop or you've stuck little labels all over the hardware.
With this screen, you glance down, and you know instantly.
For DAWless setups, this is especially useful because you can label all your custom parameters through the Components app, and the screen will show you the value, the MIDI channel, and exactly what you're adjusting.
Feature 2: Full Five-Pin MIDI I/O
The second feature is something you don't often see on a controller at this price point: full size five-pin MIDI I/O.
Two outputs and one input, no adapters, no small jack nonsense like you get on the Push 3 and Akai controllers.
At this price range most controllers give you USB only and nothing else.
If you wanted five-pin MIDI connections on a cheaper controller you'd be looking at an extra USB host adapter, extra cables, and probably an extra £100 on top.
With a recent firmware update you can also route MIDI from your computer through the Launch Control out to your hardware, which means it's basically acting as a MIDI interface built right into the controller.
And in custom mode, you can set the buttons to send program changes, so if you've got hardware synths with preset banks you can switch between them all from the controller without touching anything else.
Feature 3 (and the Most Divisive Change): Endless Encoders
The third feature is also the one that will make or break this controller for you, so pay attention.
The dials are now endless encoders instead of pots.
Most controllers at this level use pots, which have a clear start and end point.
That tactile feedback is genuinely useful, especially when you're performing live, because you can turn a dial a little and glance back at it and instantly know where it is.
The problem with pots is parameter jumps.
Say your send A is sitting at 11 o'clock in Ableton Live and your physical pot isn't in the same position.
As soon as you touch it, the parameter jumps straight to wherever the pot is physically sitting, which is not what you want mid-mix or mid-performance.
Endless encoders solve that completely.
No matter where the physical encoder is, it picks up the parameter smoothly from wherever it is in the software.
The downside is you lose all that tactile feedback.
With a pot, you can always feel the start and end point without looking.
With endless encoders, you could be spinning forever.
That's where the OLED screen earns its place, and the LED brightness under each encoder gives you a visual read on where you're at.
For panning, the colour of the LED tells you the position. For other parameters, the brightness dims as you go lower and brightens as you go higher.
You are relying entirely on visual feedback here, either from the screen or the LEDs.
If that doesn't suit the way you work, I'll be honest with you: the Korg Nano Control 2 has pots, covers most of the same ground, and costs a fraction of the price.
2 Things Missing That You Need to Know Before You Buy
The encoders are not touch sensitive.
On the Push 3 you can tap an encoder without moving it and the screen tells you the current value.
Here you have to actually adjust the setting to see where it is, which is a bit frustrating when you just want to check a position.
The other limitation is that you cannot edit templates on the device itself.
If you're in custom mode and you want to change a mapping, you have to go into the Components app on your computer.
Not ideal if you're mid-session and need to make a quick change.
Who Is the Launch Control XL MK3 Actually For?
This controller really comes alive if you're integrating Ableton Live with hardware, working with a DAWless setup, or running a hybrid of both.
If you just want to launch clips and scenes in Ableton's session view, this is not the controller for you.
It doesn't do that.
There are other Ableton controllers better suited to that job and I've tested all of them, the good, the bad, and the ugly.
But if parameter control is your thing, and especially if you're working with hardware synths or a DAWless rig, at £185 you're getting an OLED screen, full five-pin MIDI I/O, 24 encoders, eight faders, and 16 custom banks.
That is a serious amount of controller for the money.
It's staying on my desk.
Final Thoughts
The Novation Launch Control XL MK3 is one of the best value MIDI controllers available at this price.
The OLED screen is genuinely useful rather than just a nice extra.
The five-pin MIDI I/O removes a whole layer of faff that cheaper controllers force you into.
And the endless encoders, love them or hate them, do solve a real problem even if they introduce a different one.
Just go in with clear eyes about what it does and doesn't do.
If you want to see how it stacks up against every other Ableton controller on the market, I've put together a full controller comparison video on the Push Patterns YouTube channel covering all of them.
Frequently Asked Questions
What is the difference between the Novation Launch Control XL MK3 and MK2?
The MK3 is a significant step up. The biggest changes are the OLED screen, which the MK2 didn't have, and the switch from pots to endless encoders. You also get full five-pin MIDI I/O on the MK3, something the MK2 completely lacked. The MK3 also adds 16 custom mode banks, USB-C, and proper DAWless capability. If you already own an MK2 and are happy with it, you don't urgently need to upgrade. But if you're buying new, the MK3 is the better controller by a clear margin.
Does the Novation Launch Control XL MK3 work with Ableton Live?
Yes, and Ableton Live is actually the tightest integration it has. When you plug it in, Ableton recognises it immediately with no setup required. In DAW Mixer mode you get panning, sends, volume, solo, and arm all mapped automatically. In DAW Control mode the top two encoder rows map to device parameters on whatever track you have selected. It also works with Logic, Cubase, and FL Studio, though those require a quick script download from the Novation website.
What are endless encoders and why does it matter on a MIDI controller?
Pots have a physical start and end point, which is useful for tactile feedback but causes parameter jumps when your controller position doesn't match your software. Endless encoders have no start or end, so they pick up smoothly from wherever a parameter sits in the software. No jumps. The trade-off is you lose the tactile feel of knowing where you are without looking. That's why the OLED screen and LED feedback on the MK3 are so important. Without them, endless encoders on a controller like this would be genuinely frustrating to use.
Can the Novation Launch Control XL MK3 be used without a computer?
Yes. This is one of the things that makes it stand out at this price. You can power it via USB-C and connect directly to hardware synths using the five-pin MIDI outputs. With a recent firmware update you can also route MIDI from your computer through the controller out to your hardware, which essentially turns it into a MIDI interface as well. If you're running a DAWless or hybrid setup, this controller has you covered in a way that most controllers at this price simply don't.
How do I set up the Novation Launch Control XL MK3 in Ableton Live?
Plug it in via USB-C and open Ableton Live. That's it for basic setup. Live recognises it automatically with no additional drivers needed. For custom mappings, download the Novation Components app or access it through the Novation website. From there you can assign CC messages, MIDI notes, program changes, and build your own performance templates across 16 custom banks. If you want to MIDI map parameters manually in Ableton, press Command M on Mac or Control M on Windows, click the dial you want to map, and then move a control on the controller.
About the Author
Craig Lowe is a professional touring playback engineer and Ableton Live educator. He has taught at ICMP, BIMM, and ThinkSpace Education, and has worked on prime-time TV productions. He is the founder of Push Patterns, a UK-based Ableton Live education brand at pushpatterns.com.
If you are interested in learning Ableton Live 12 or the Push 3 in a bit more detail, check the course here:
