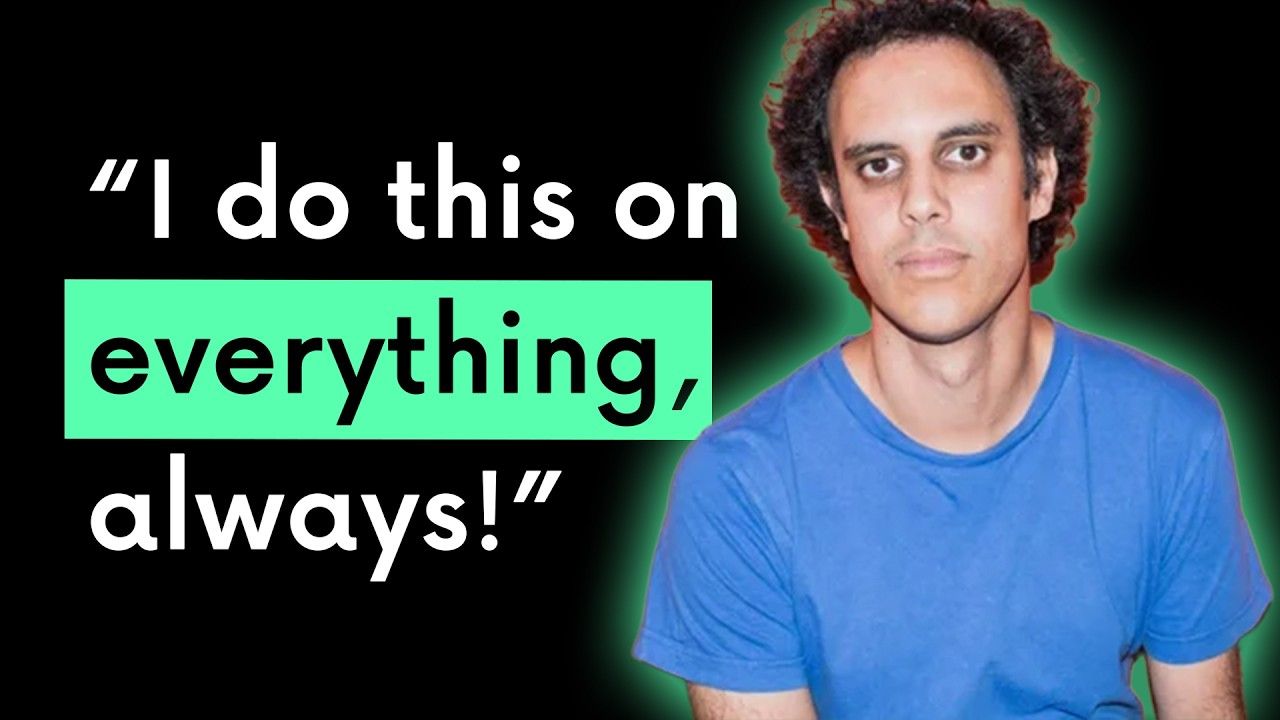
The Four Tet Sampling Trick That Changed Everything
Jul 23, 2025
Why I Switched from Logic Pro to Ableton Live (and the Four Tet Trick You Need)
The fastest way to unlock creativity in beat-making is to sequence MIDI first and sample later. This flips the usual producer workflow and helps you avoid getting stuck hunting for “the right” sound.
It’s a method I learned from a Four Tet beat-making video, and it completely changed how I make music.
Key Takeaways
-
Sequence MIDI patterns before loading samples
-
Use random sounds to spark creative grooves
-
Shape samples with filters and drive for texture
-
Randomise velocity for human feel
-
Embrace imperfections for faster, more alive music
What Made Me Switch from Logic Pro to Ableton Live?
When I started in Logic Pro, I found sampling clunky. There was no warping back then, and chopping audio slowed me down.
Then I saw a 10-minute Four Tet beat challenge video. Ten minutes later, I downloaded the Ableton Live trial, and never looked back.
What Is the Four Tet Sampling Trick?
Instead of searching endlessly for the perfect snare or hi-hat, Four Tet sequenced a beat first. He laid down raw MIDI patterns: kick, snare, hats, then dragged in random audio and scrubbed through it until something worked.
It looks messy, but it forces you into structure before perfection, making the music feel more alive.
How Do You Rebuild the Four Tet Trick in Ableton Live?
Here’s a step-by-step way to try it yourself:
-
Build a Basic Groove with MIDI
Start with a one-bar clip, add kicks and hats, keep it simple. -
Drag in Random Audio
Drop in any found sound into Simpler, scrub the start marker, and find something usable. -
Shape with Filters and Drive
Use Ableton’s filters (MS2 with drive works great) to add texture. -
Add a Backbeat
Draw in snares with MIDI, then scroll through samples until one fits. Adjust with transpose, filtering, or resampling. -
Randomise Velocity for Human Feel
Select all MIDI notes, randomise velocity, then map velocity to volume or panning for more movement. -
Layer It Up
Add extra textures and surprise elements. React to what you hear instead of aiming for perfection.
Why Does This Workflow Work?
This isn’t randomness for its own sake. It’s about starting with structure and letting samples surprise you.
-
You avoid decision paralysis over sound choice
-
The results feel textured and human
-
You move faster and stay in the creative flow
Should You Try This Beat-Making Workflow?
Yes. Especially if you get stuck auditioning sounds. Next time, flip your process:
-
Sequence MIDI first
-
Drag in random samples
-
Shape with filters and velocity mapping
-
Let happy accidents guide the track
You’ll be surprised how quickly your sessions become more fun and productive.
FAQs
1. Why did you move from Logic Pro to Ableton Live?
Because Ableton made sampling faster and more creative, while Logic felt restrictive for audio manipulation.
2. What is the Four Tet sampling trick?
Sequencing MIDI patterns first, then dragging in random audio and scrubbing until something fits.
3. How does random sampling help creativity?
It prevents perfectionism, speeds up workflow, and often produces unexpected, lively results.
4. Can I use this method in other DAWs?
Yes. The principle works anywhere, though Ableton’s Simpler makes it especially smooth.
5. What’s the biggest benefit of this workflow?
You spend less time searching for sounds and more time making music.
Final Recommendation
If your workflow feels slow or uninspired, try sequencing first and sampling later. It’s simple, fast, and makes your music feel alive, just like the Four Tet method that changed my own approach.
If you are interested in learning Ableton Live 12 or the Push 3 in a bit more detail, check the course here:

