Ableton Live 12 - Settings To Change Now!
Sep 02, 2025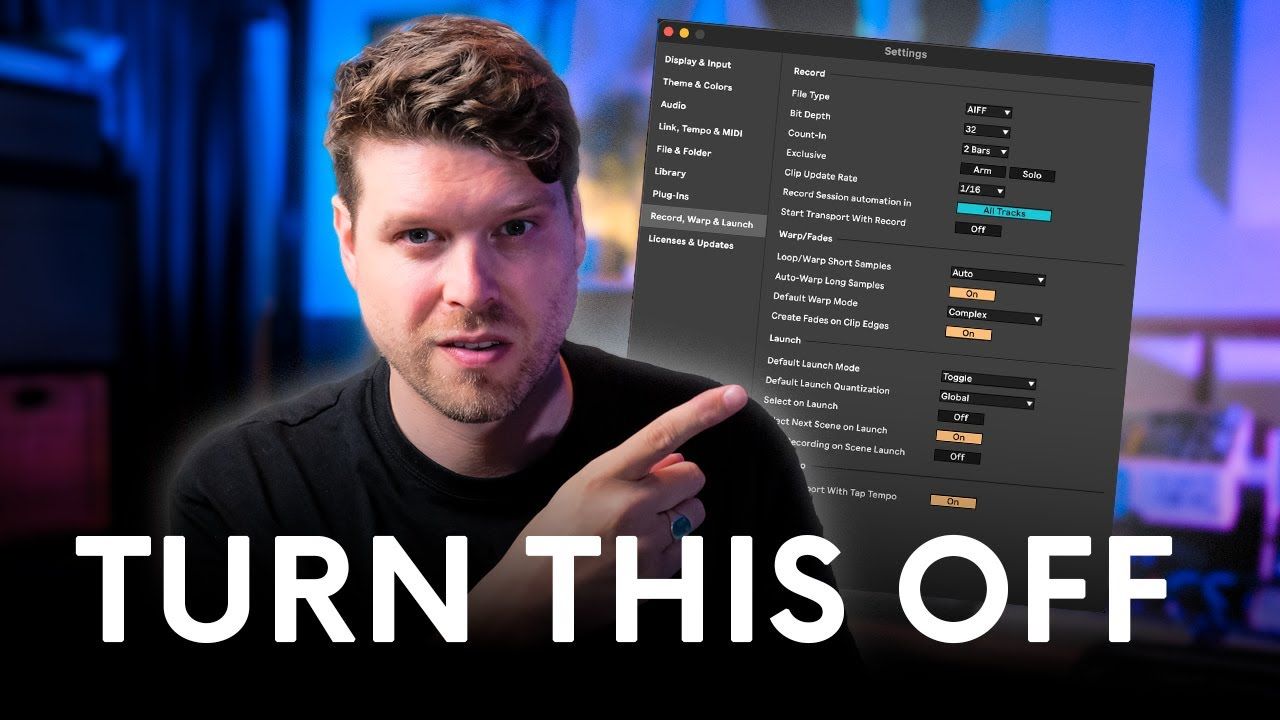
Transform Your Ableton Live Experience with These Essential Settings
Want to get the most out of Ableton Live? A few quick settings tweaks can significantly improve performance, workflow, and usability. This guide walks you through the must-change options to unlock a smoother and more powerful creative process.
Key Points
-
Adjust zoom and display for better visibility
-
Enable pitch lock for easier MIDI editing
-
Improve performance with file handling tweaks
-
Optimise plugin and automation behaviour
-
Enhance live performance with launch settings
How do I access Ableton Live’s settings?
Press Command + , (Mac) or Ctrl + , (Windows) to open the Preferences menu.
Here you can customise everything from display to recording behaviour.
What display settings should I change for better visibility?
Zoom Display: Zoom in or out to match your screen size. This is useful on both small laptops and large monitors.
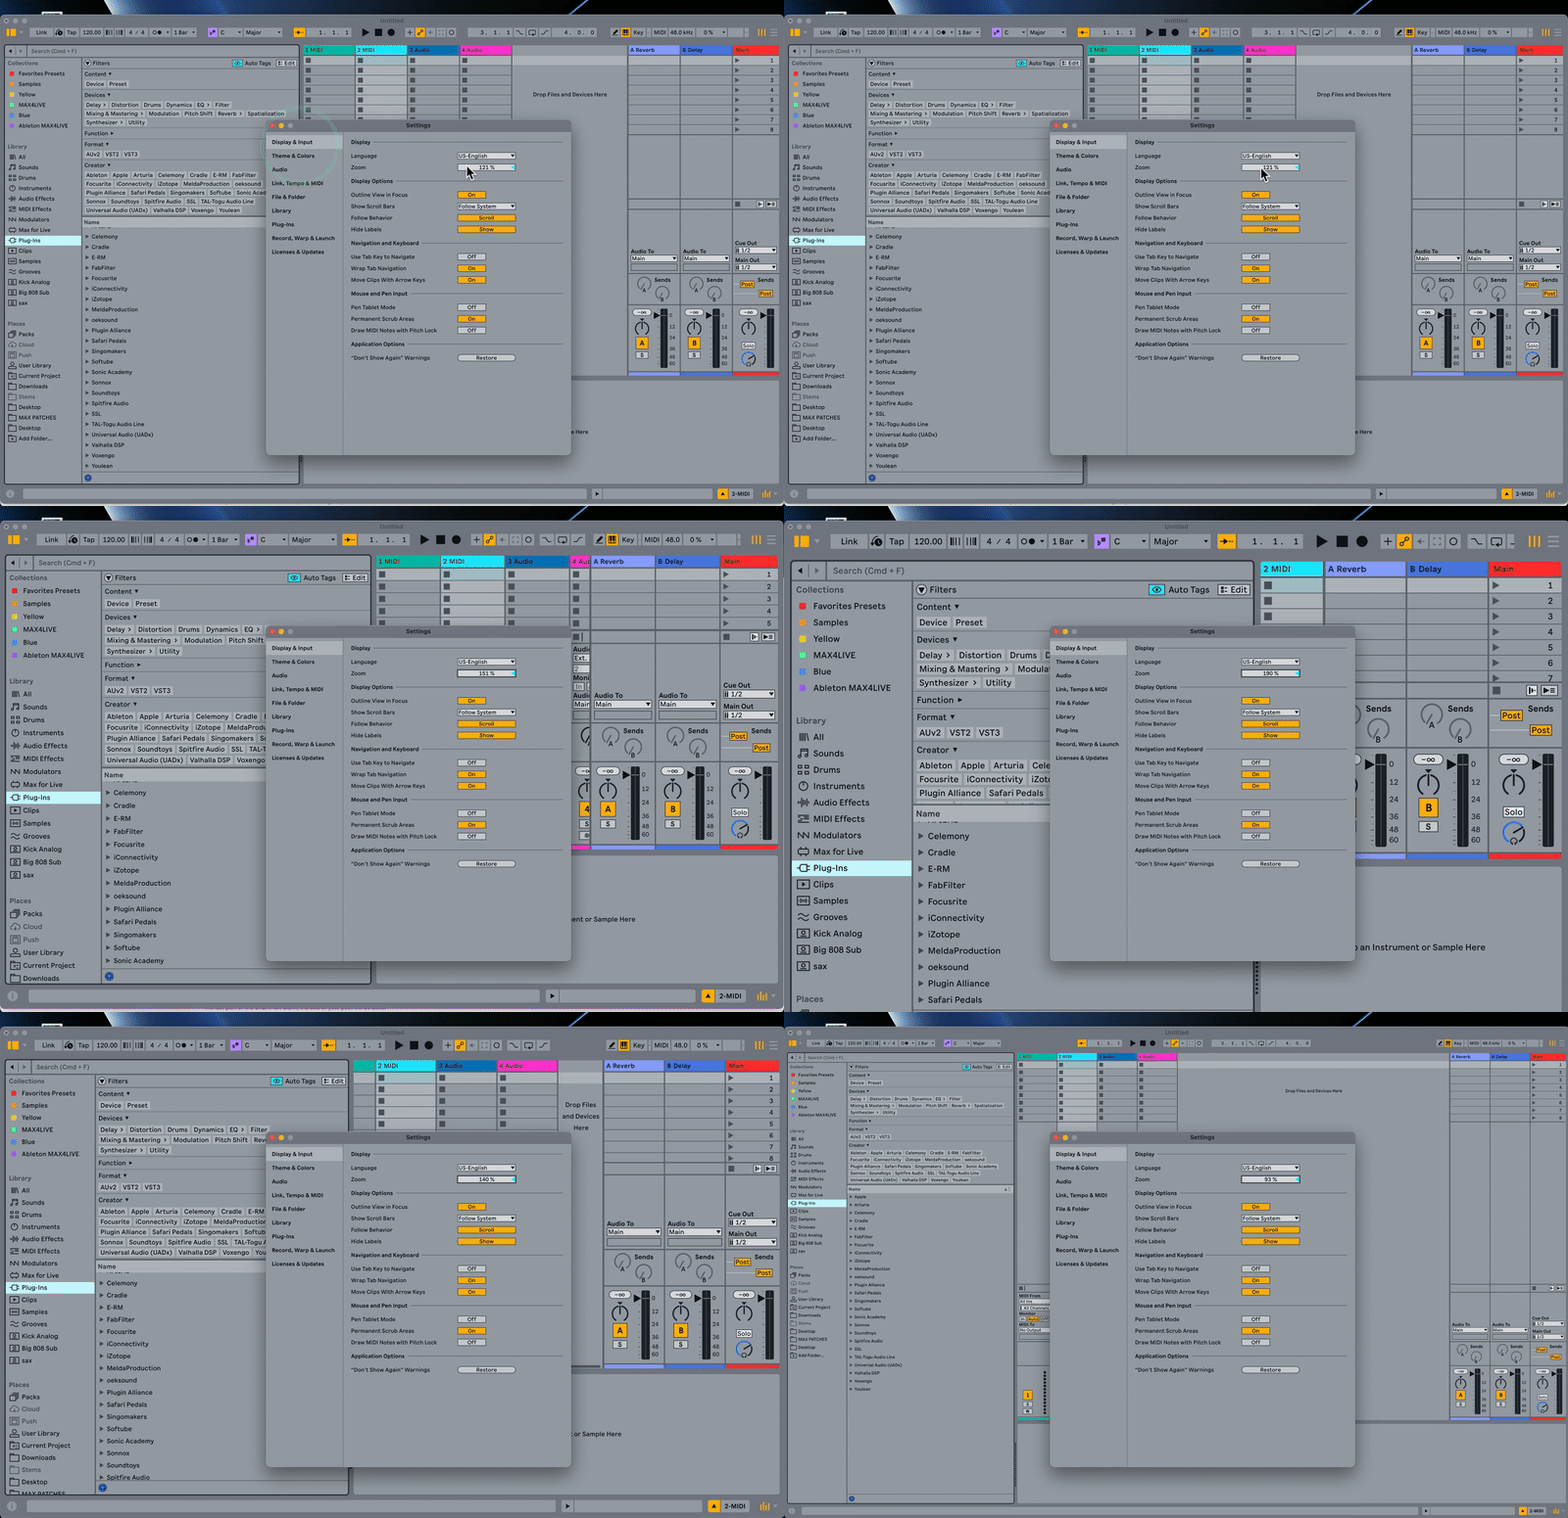
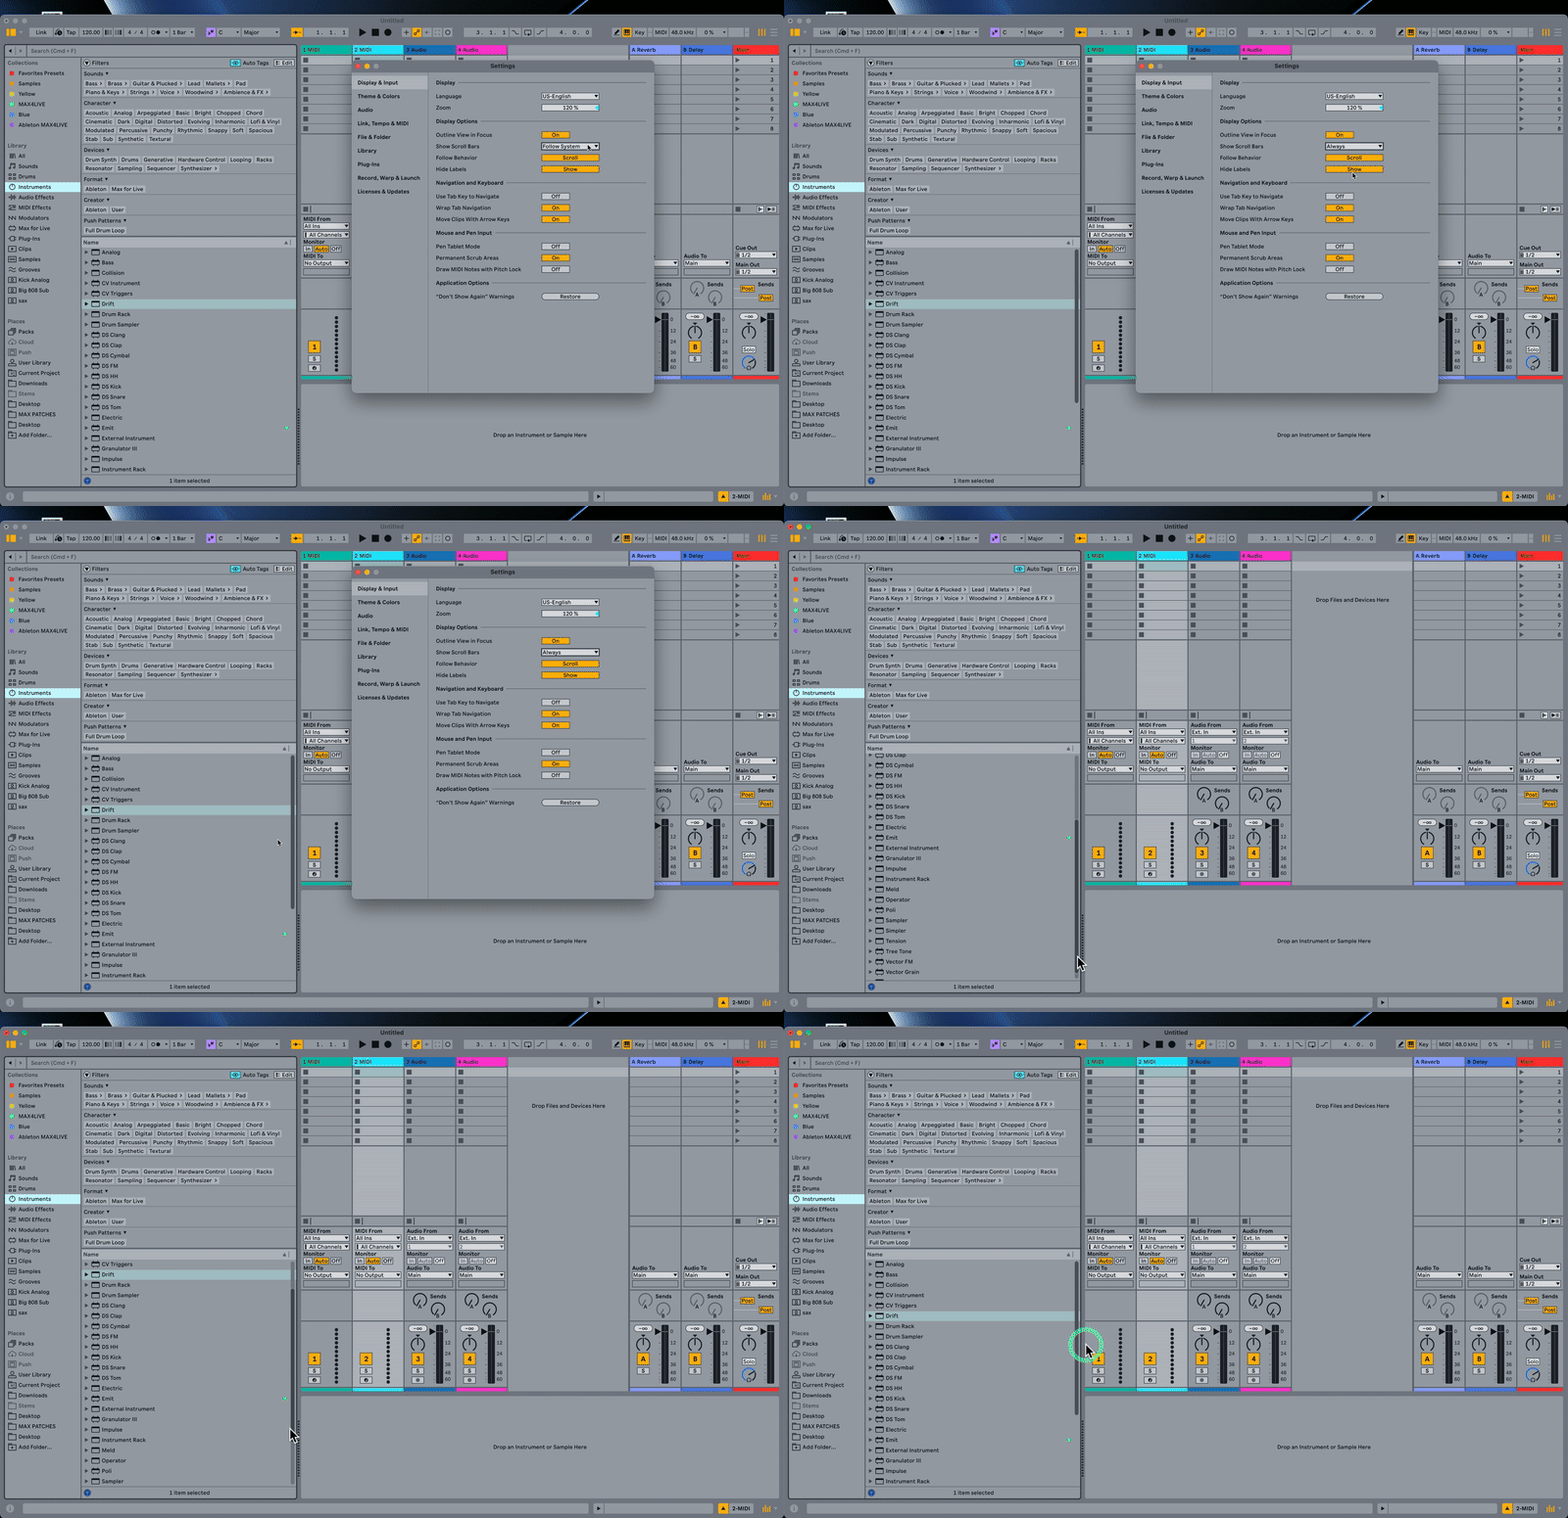
Show Scroll Bars: Enable this for easier navigation, especially with a mouse.
How can I improve my MIDI editing workflow?
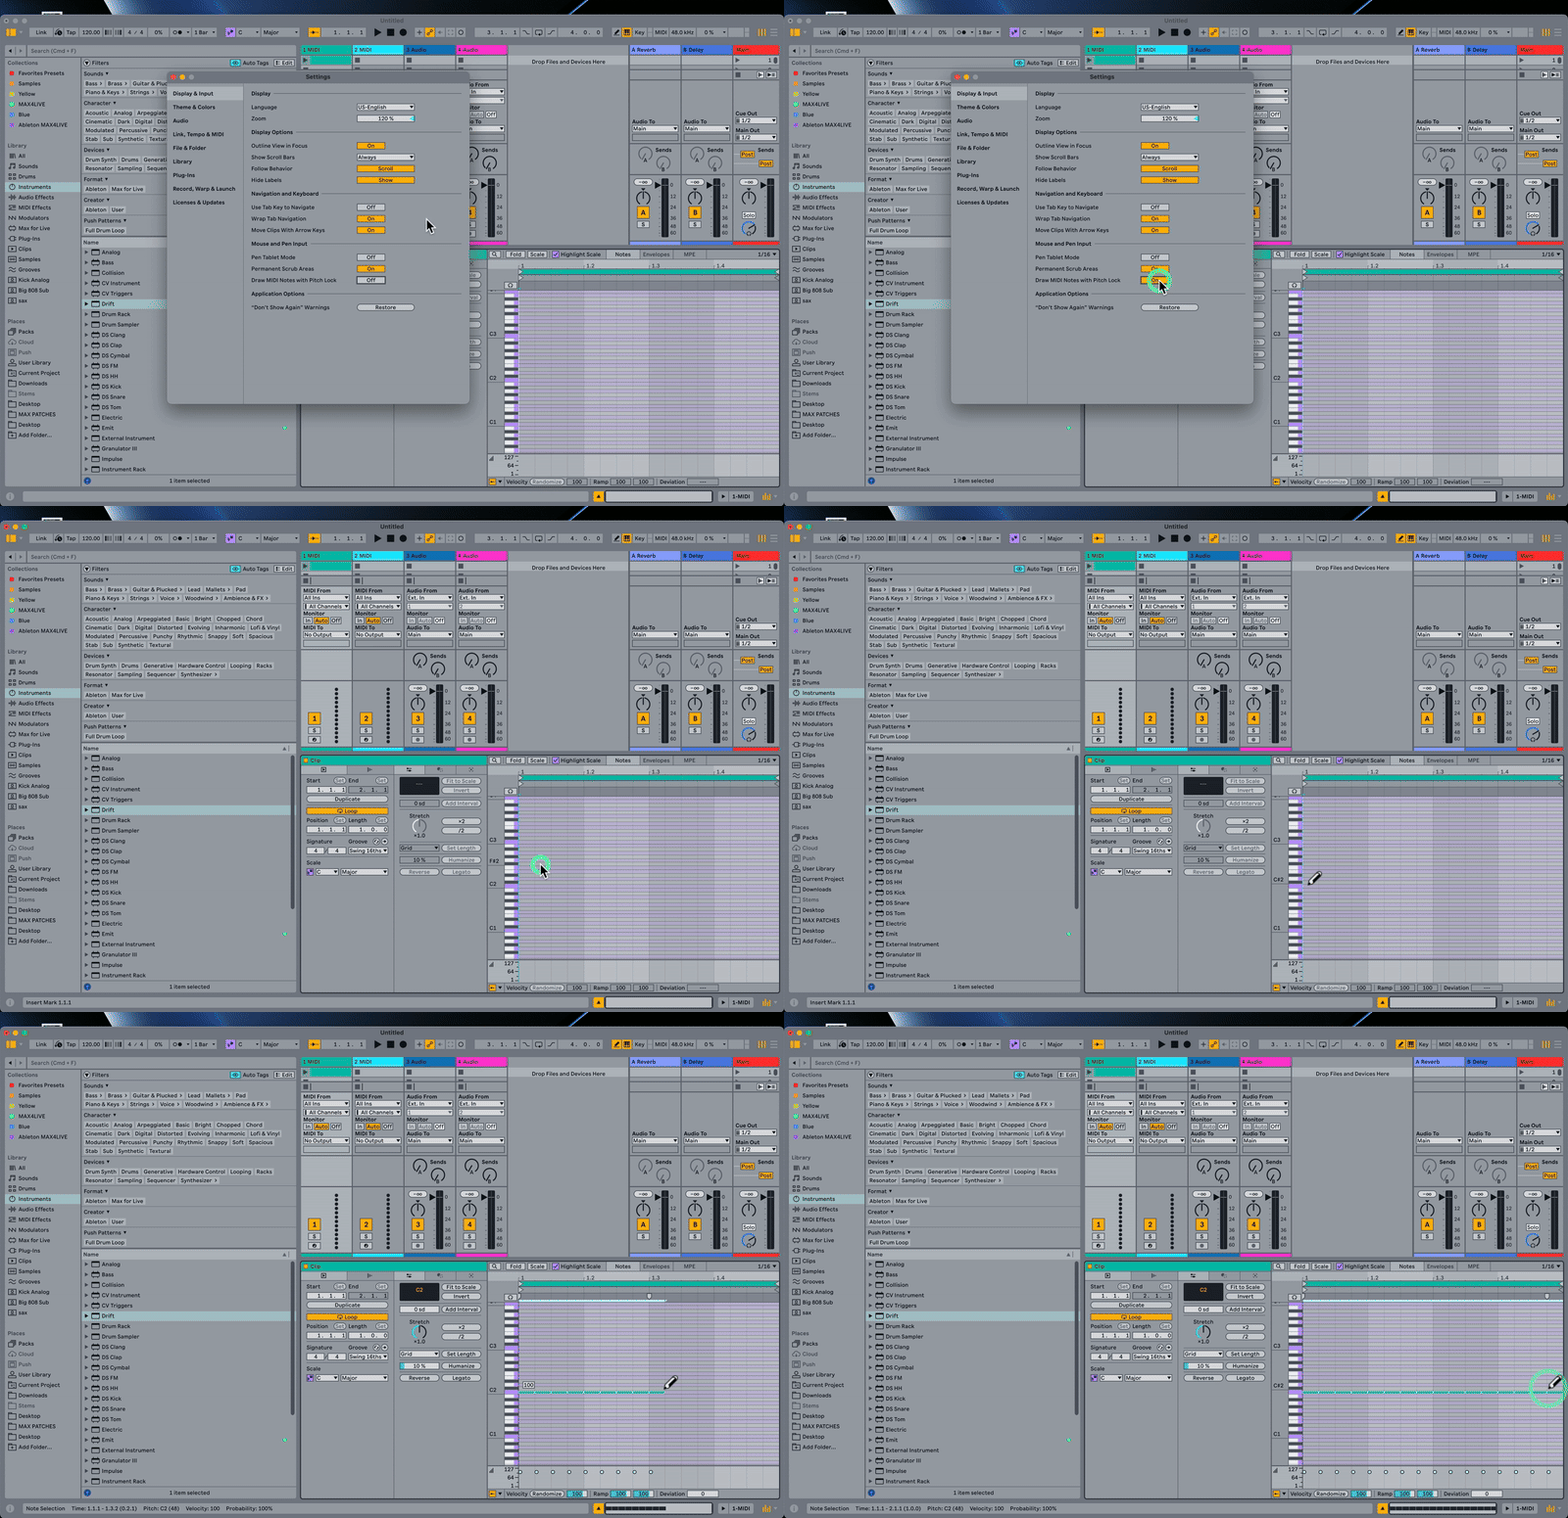
Enable Draw MIDI Notes with Pitch Lock. This keeps notes aligned to lanes; perfect for drum racks.
It ensures cleaner MIDI editing and saves time during programming.
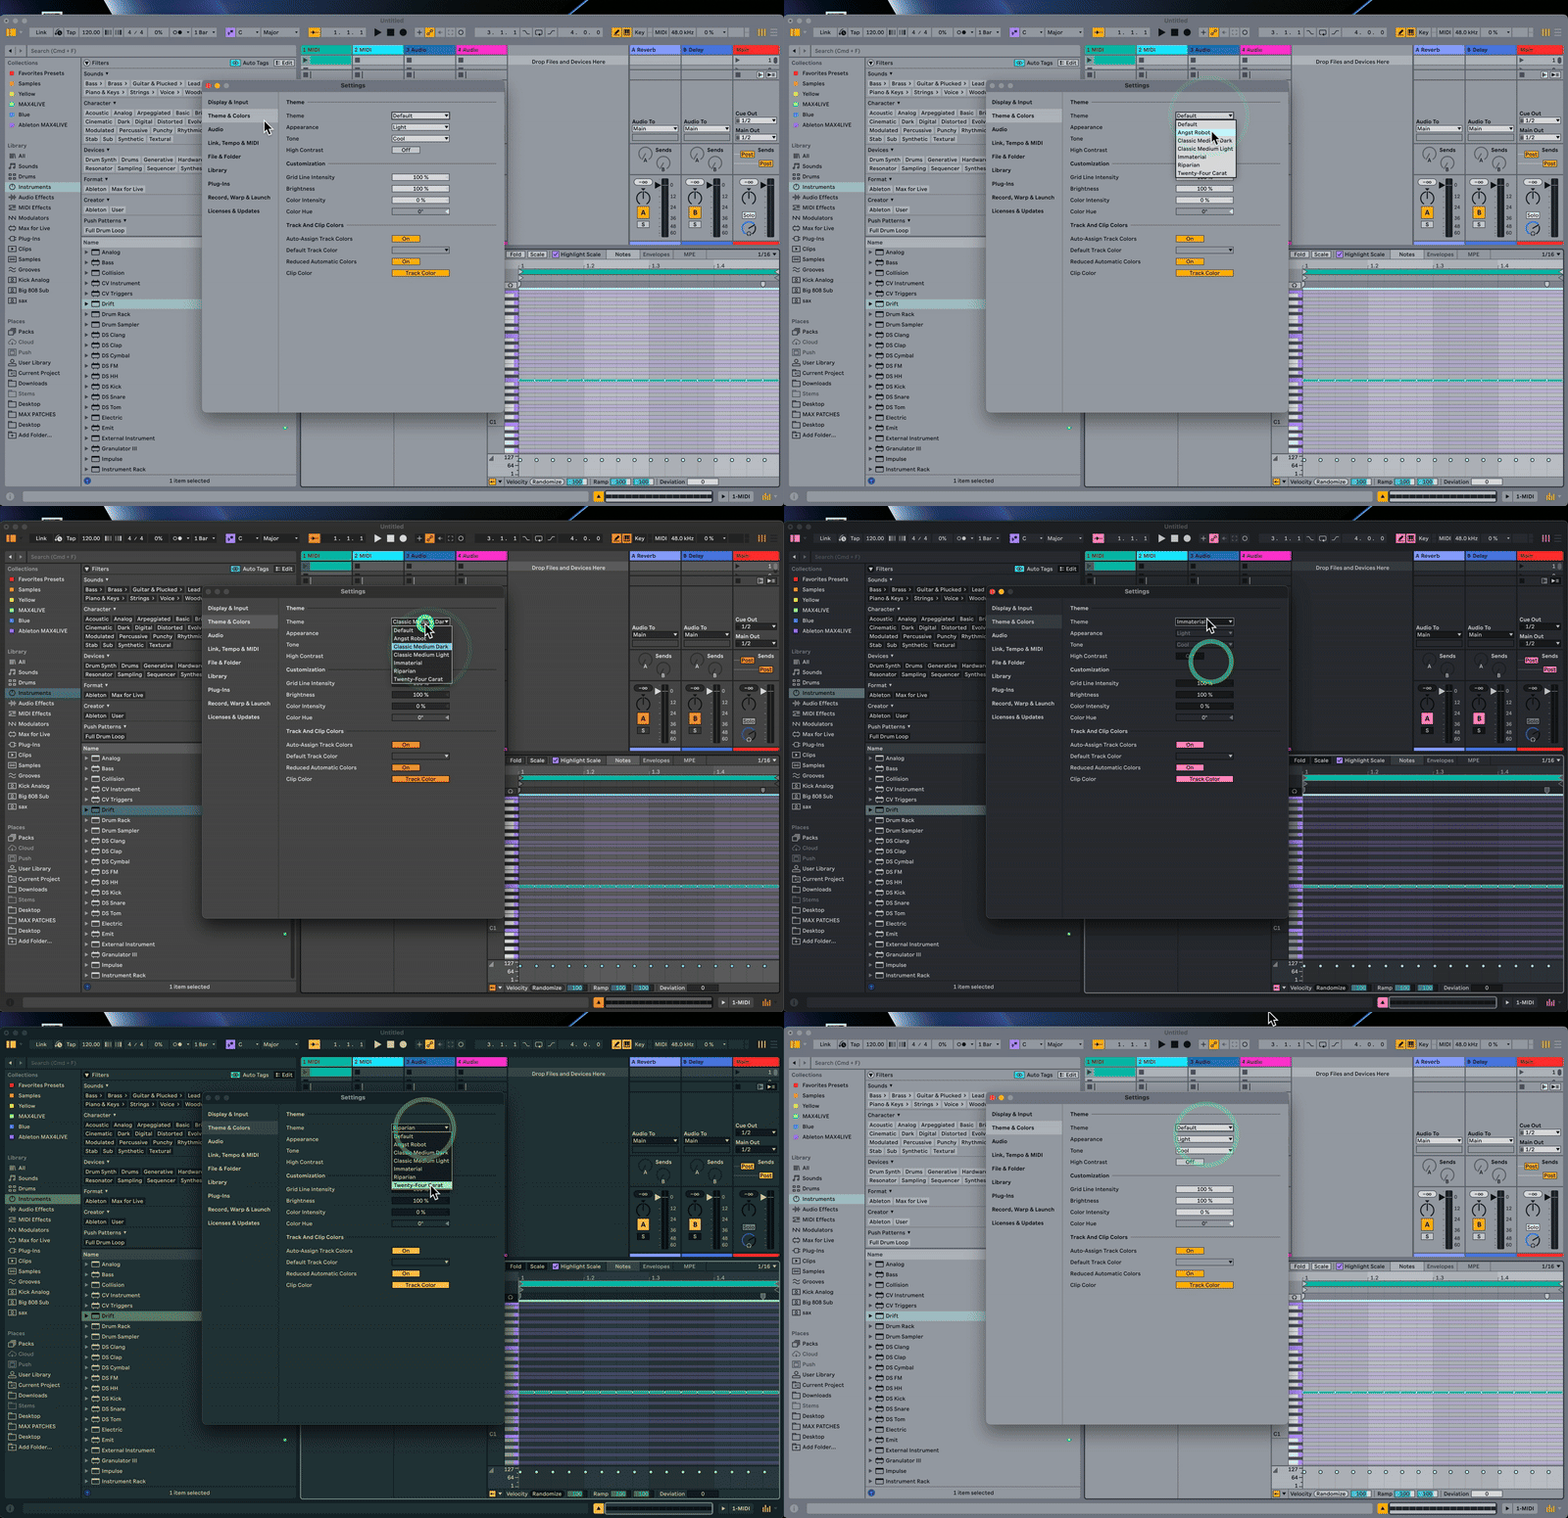
How do I customise Ableton Live’s visual theme?
In Preferences, adjust:
-
Light/Dark mode
-
Brightness level
-
Theme colours (warm or cool)
Choose a look that’s comfortable for your eyes during long sessions.
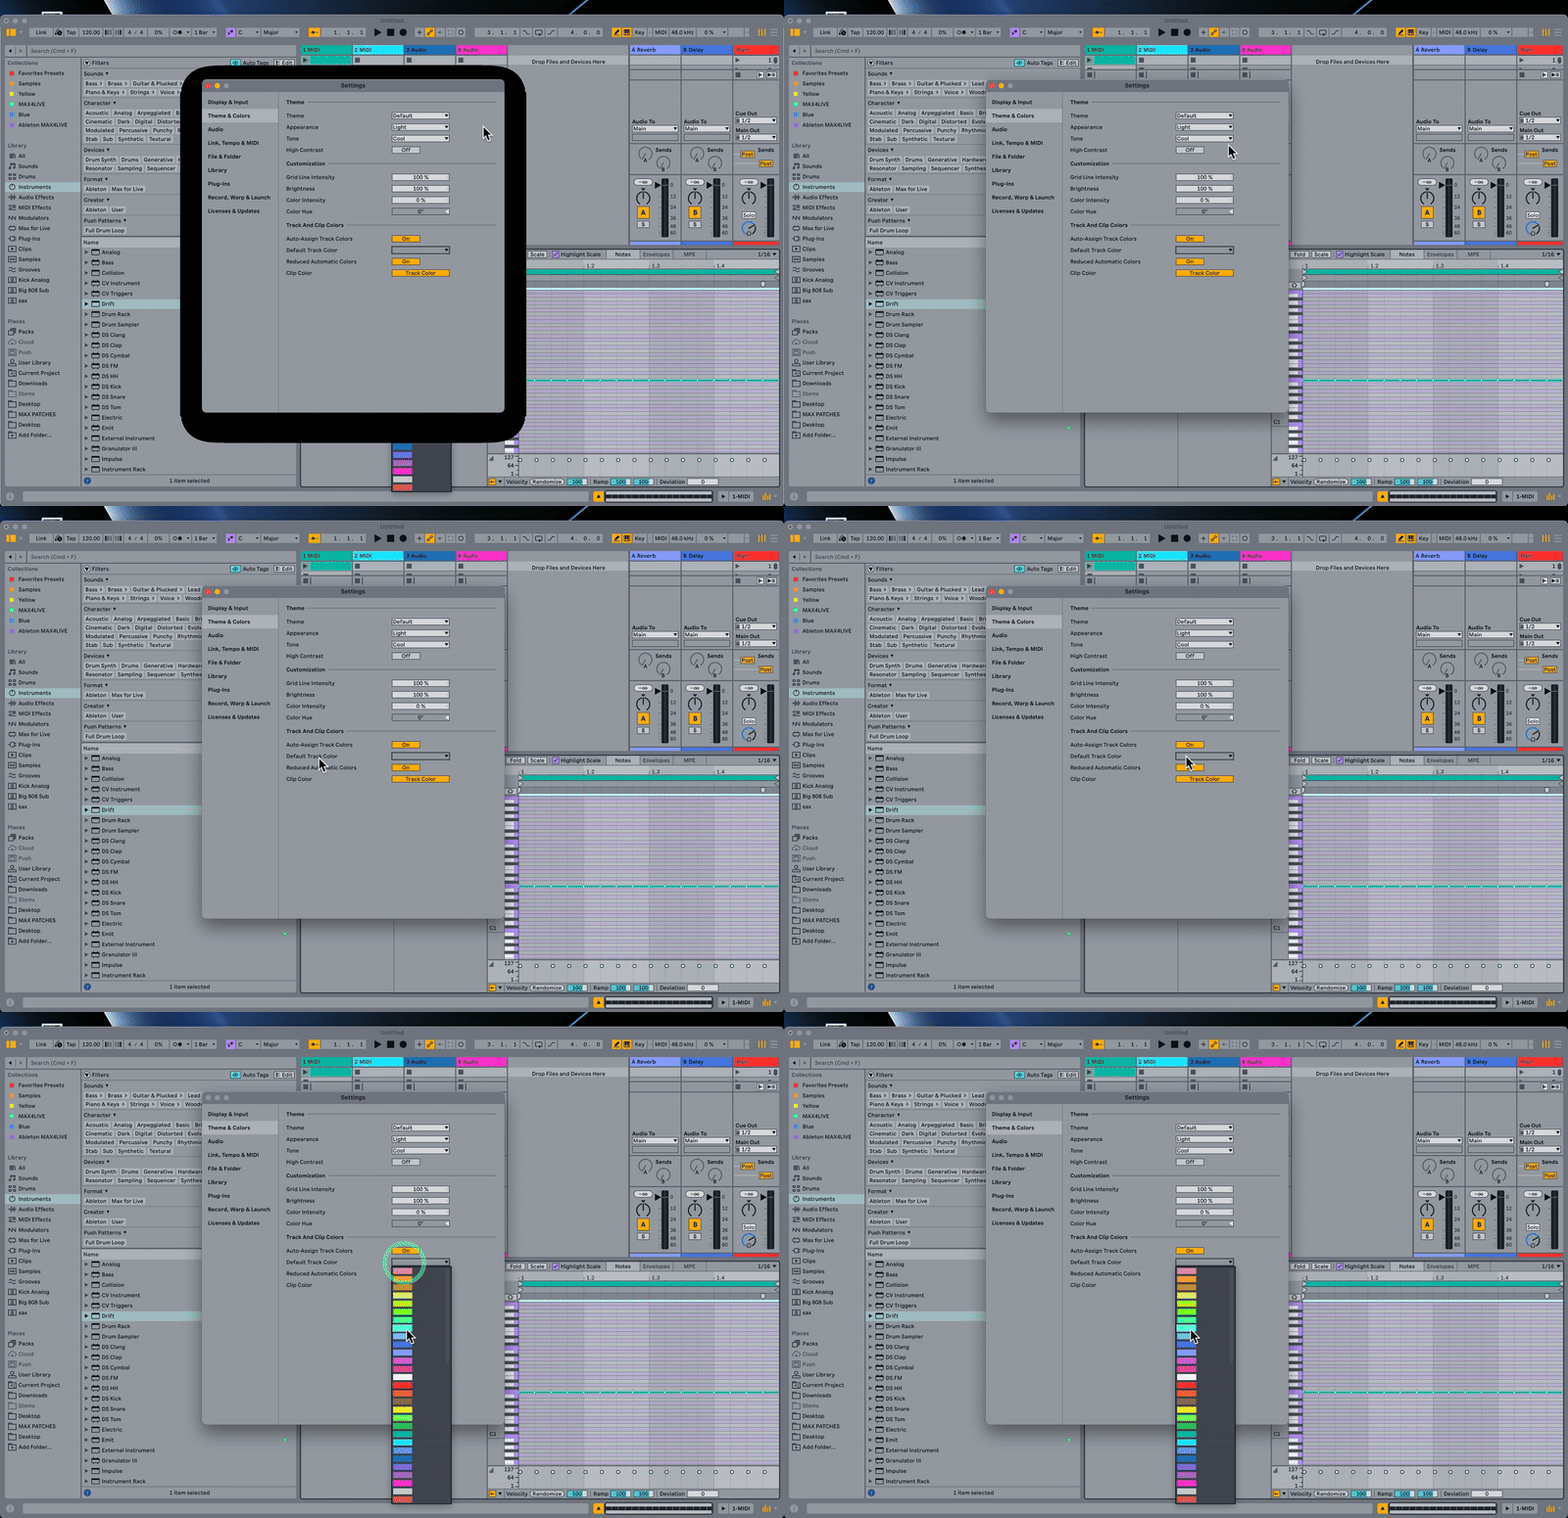
Should I use track colours? Why?
Yes. Assigning default track colours helps visually separate elements.
Use a limited palette to keep your arrangement clear and uncluttered.
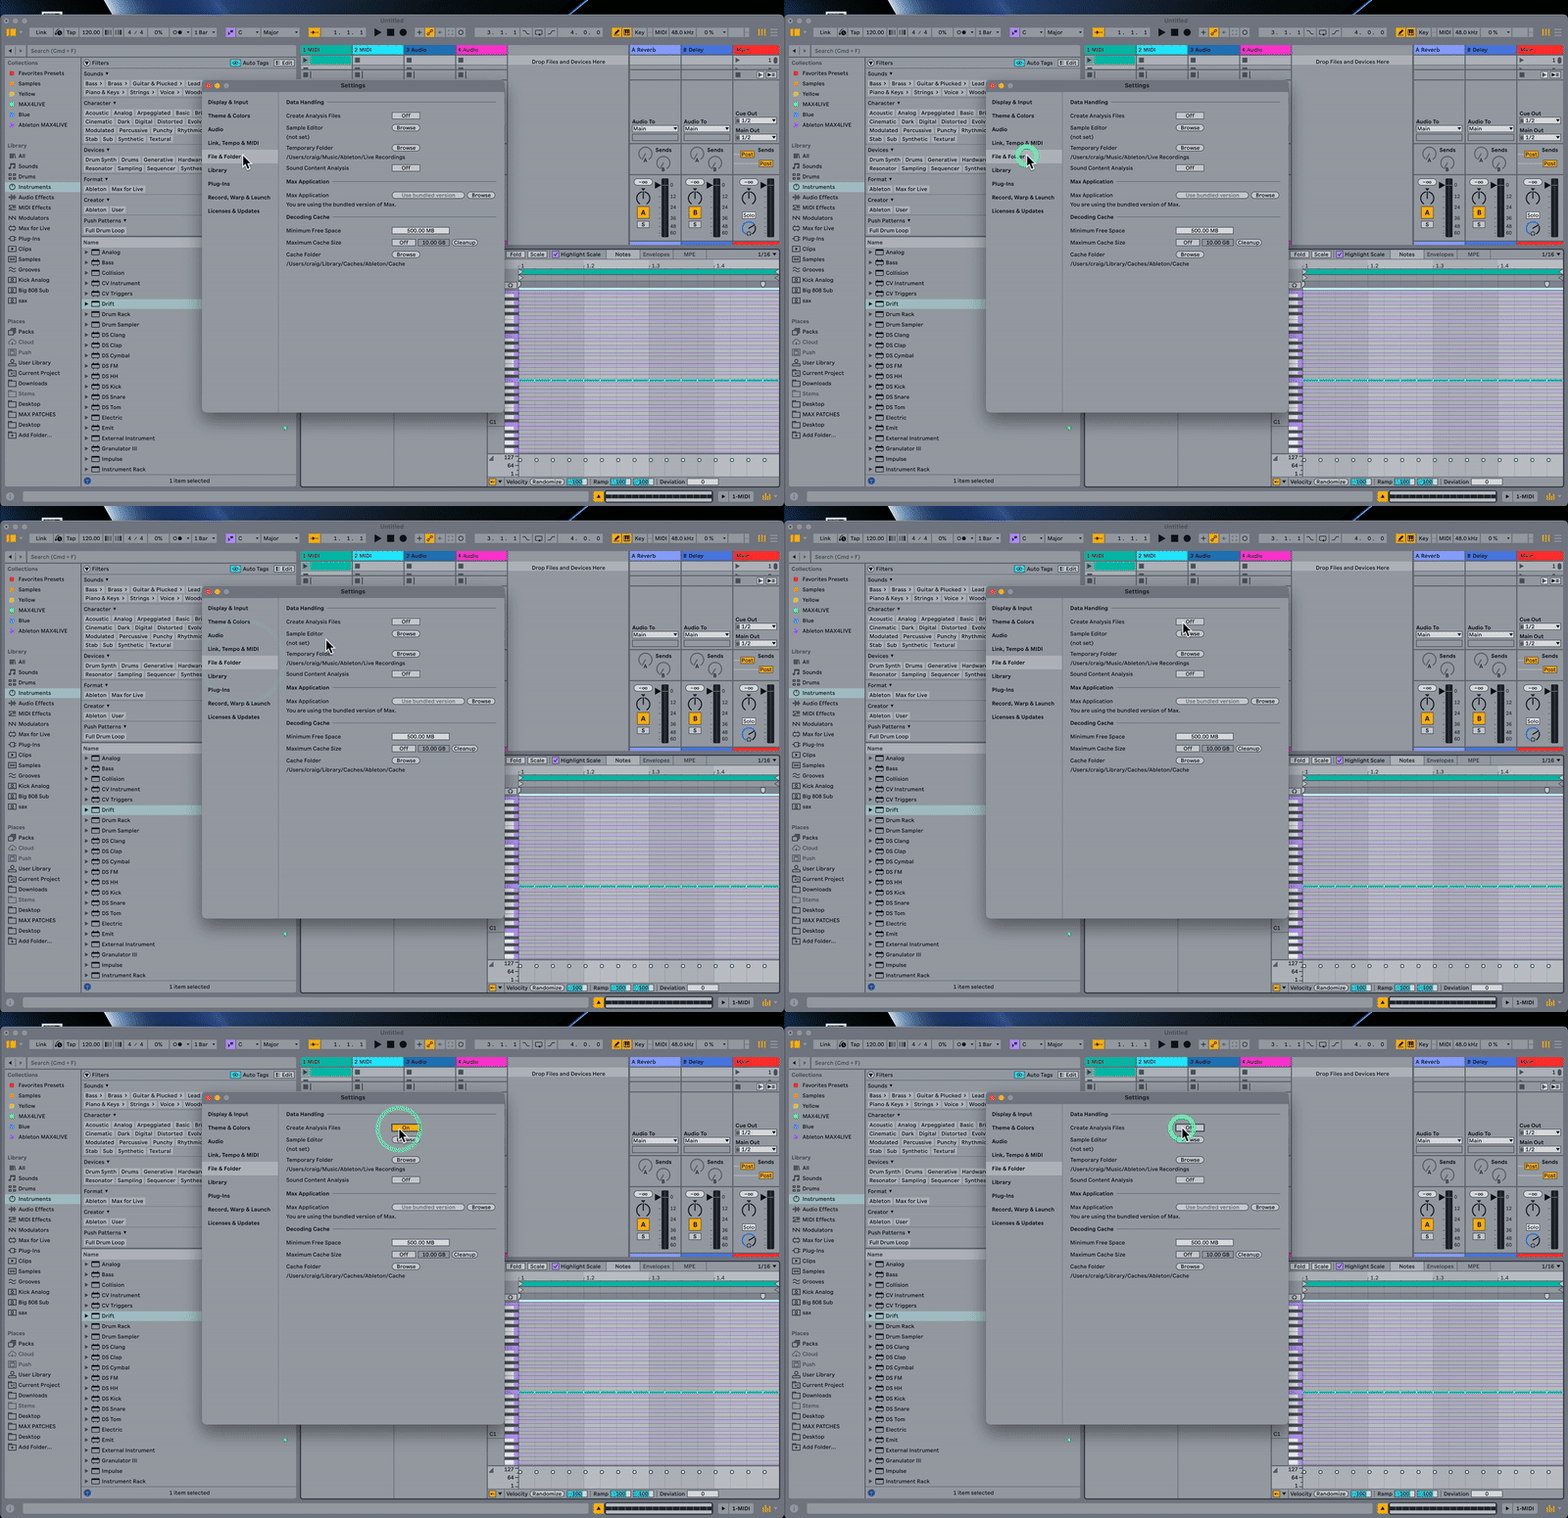
Which settings help with file handling and performance?
Create Analysis Files: Keeps projects fast by storing extra data for samples.
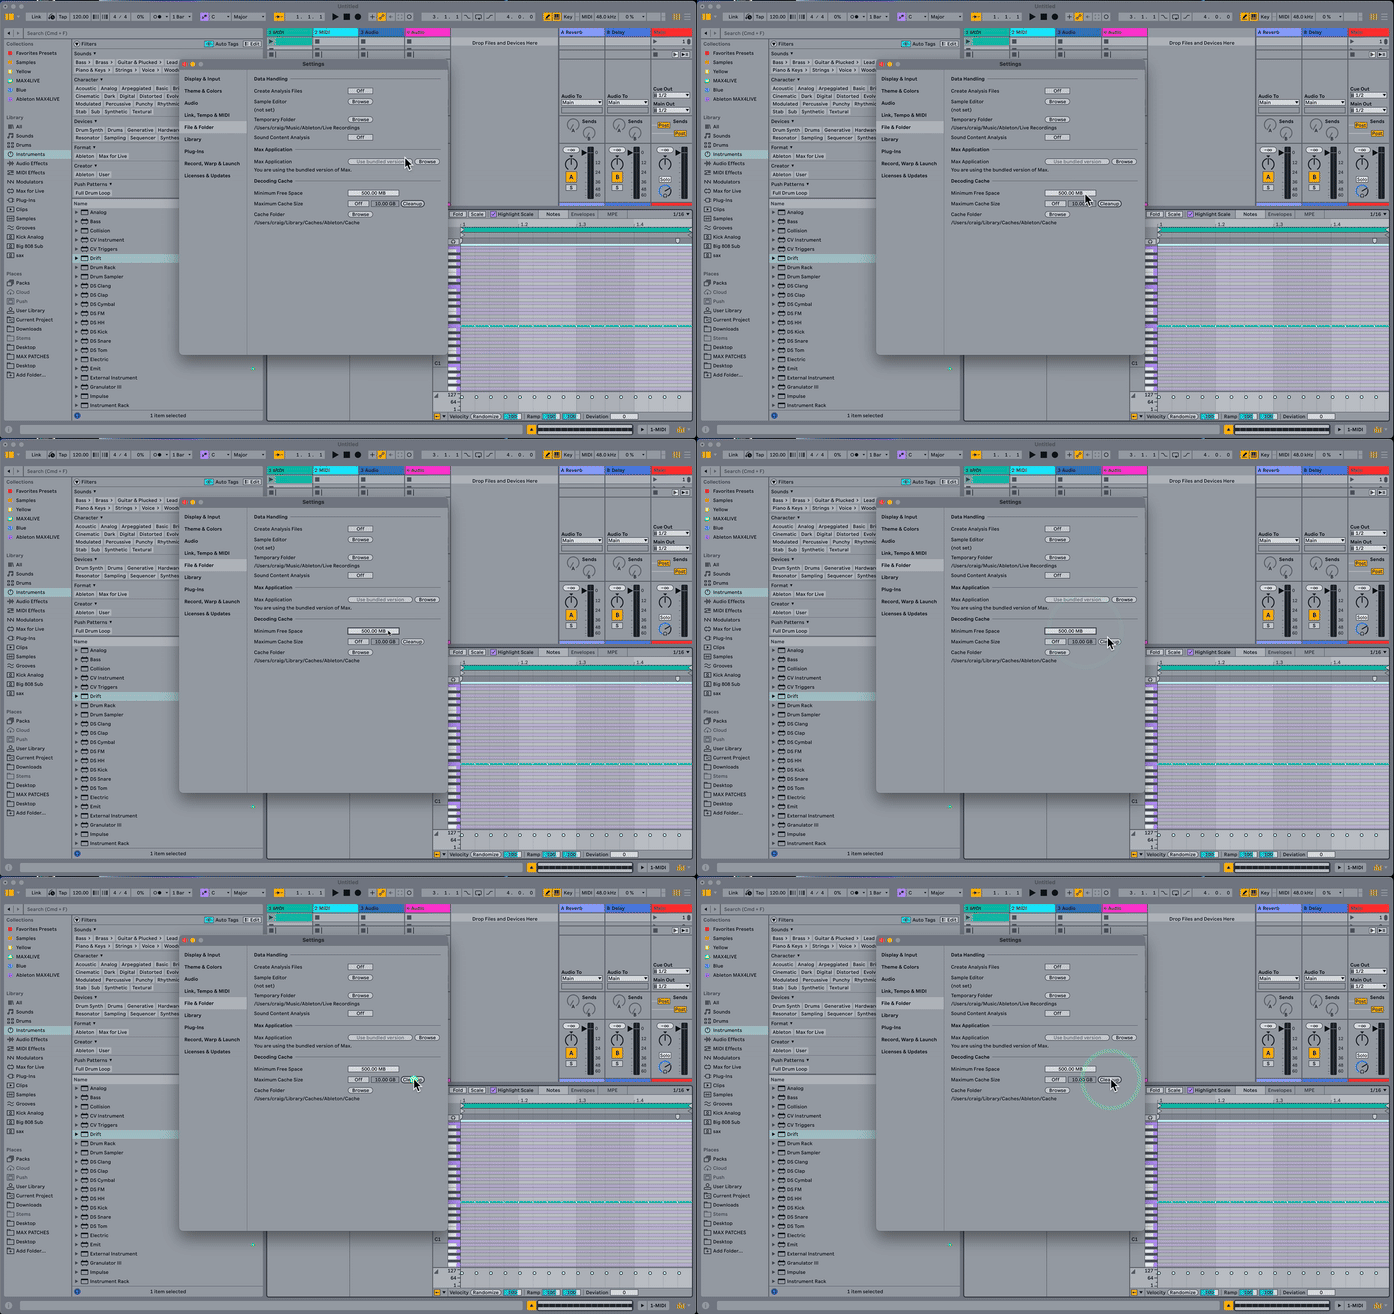
Cache Settings: Adjust the limit to control disk space use. Store large libraries externally to save space.
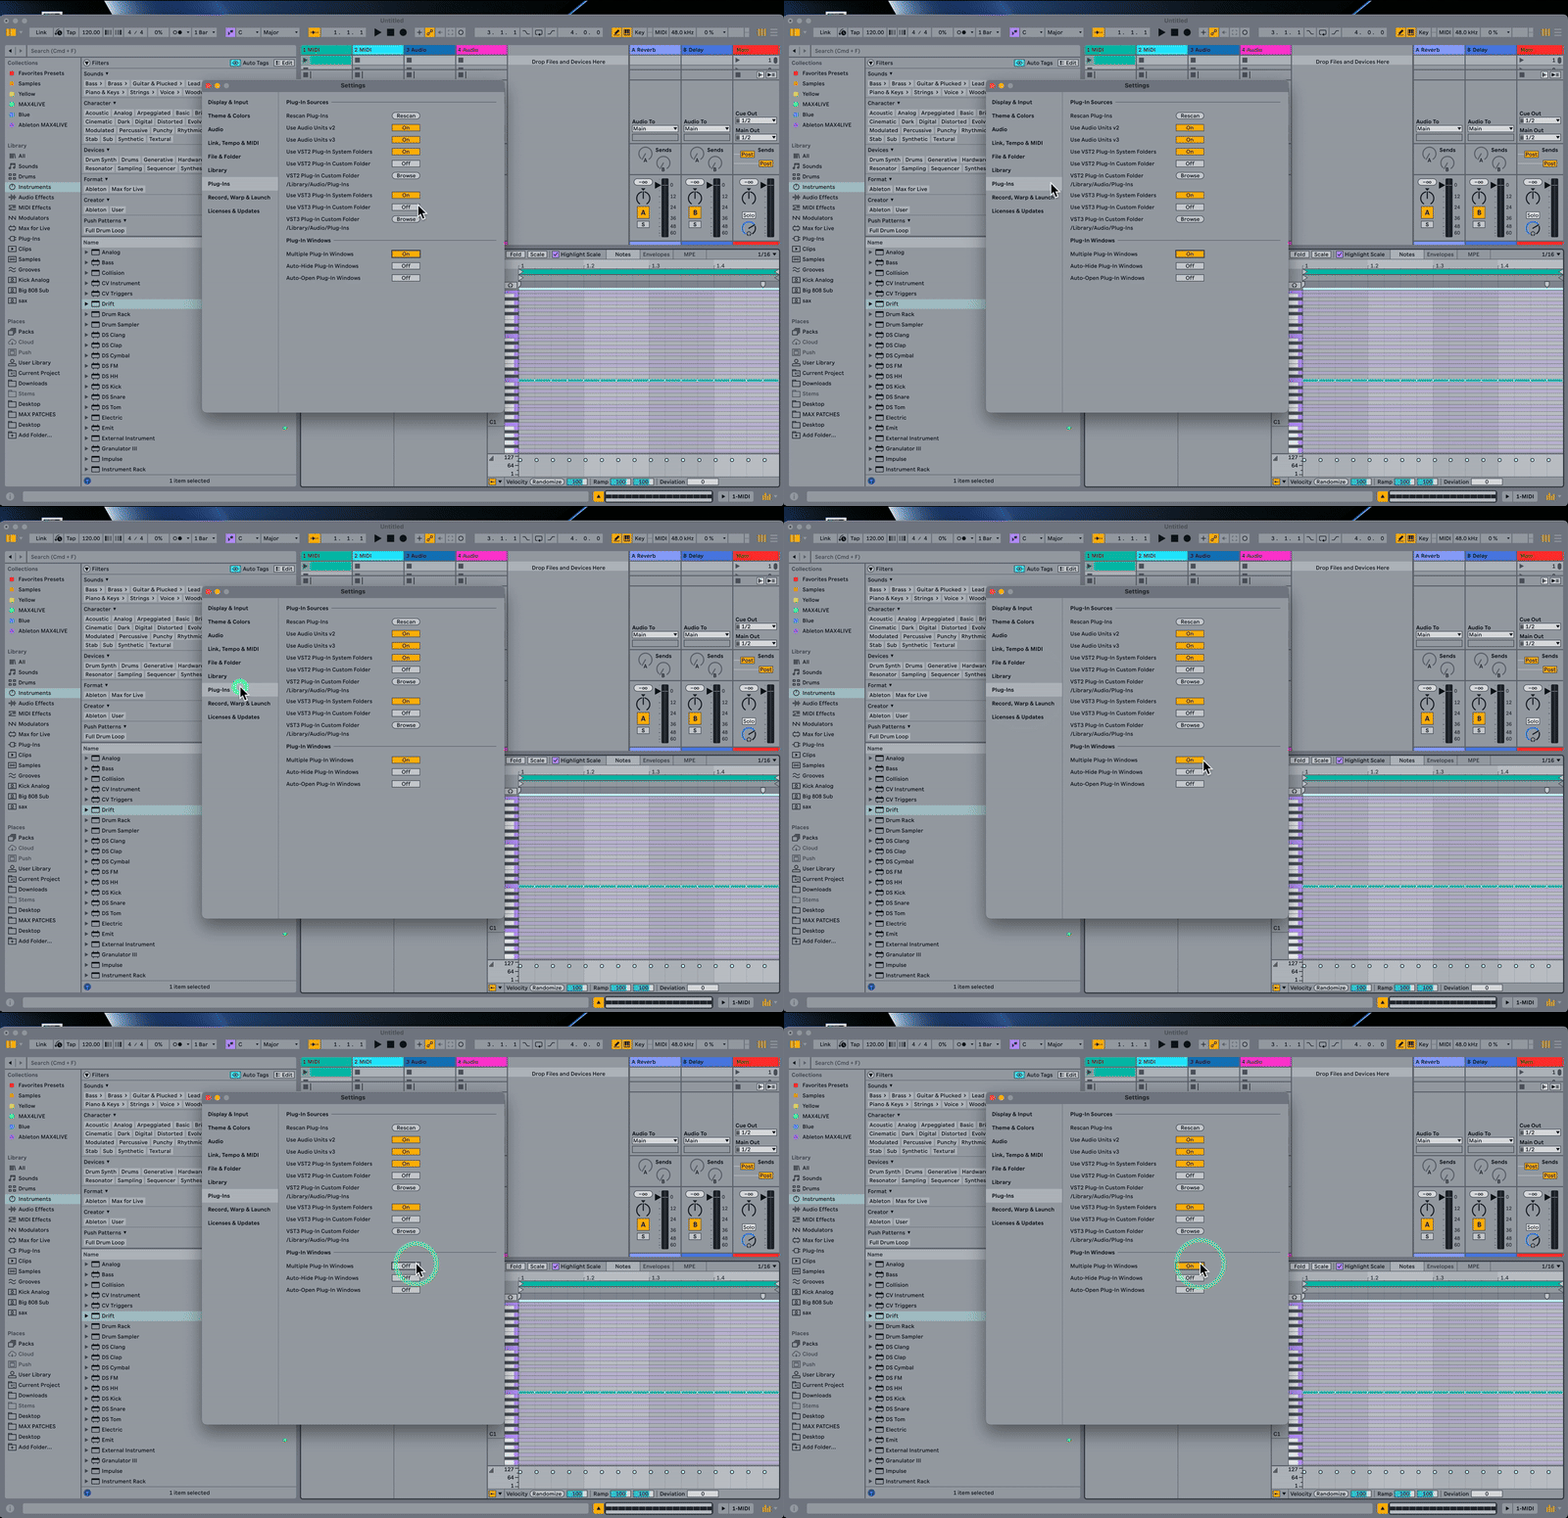
How do I improve plugin window behaviour?
Under Plugin Preferences:
-
Enable multiple plugin windows to work on several effects at once.
-
Disable auto-hide so plugin UIs stay open when switching tracks.
This saves clicks and speeds up workflow.
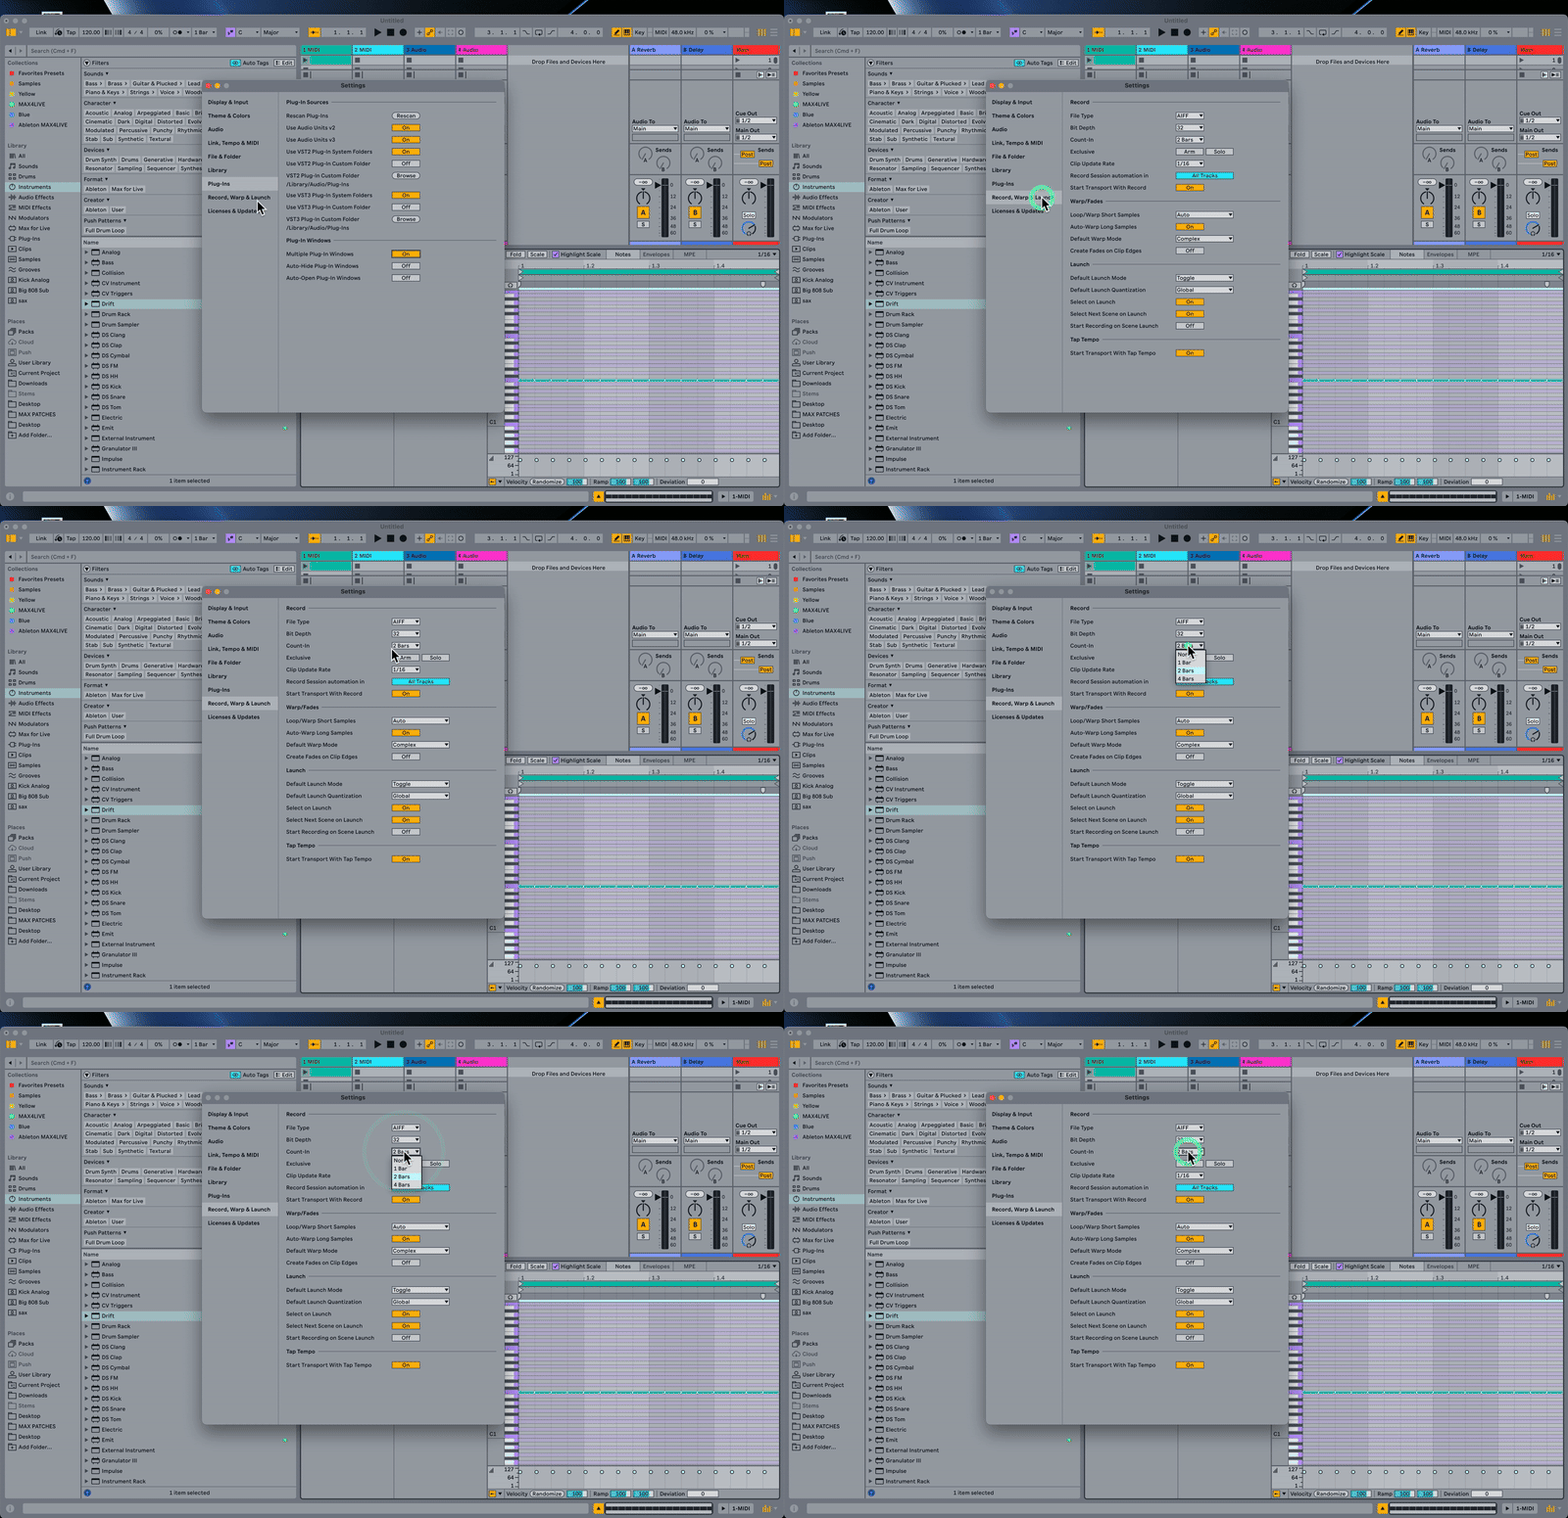
What recording settings should I enable?
Count-In: Use a two-bar count-in to prep before recording begins.
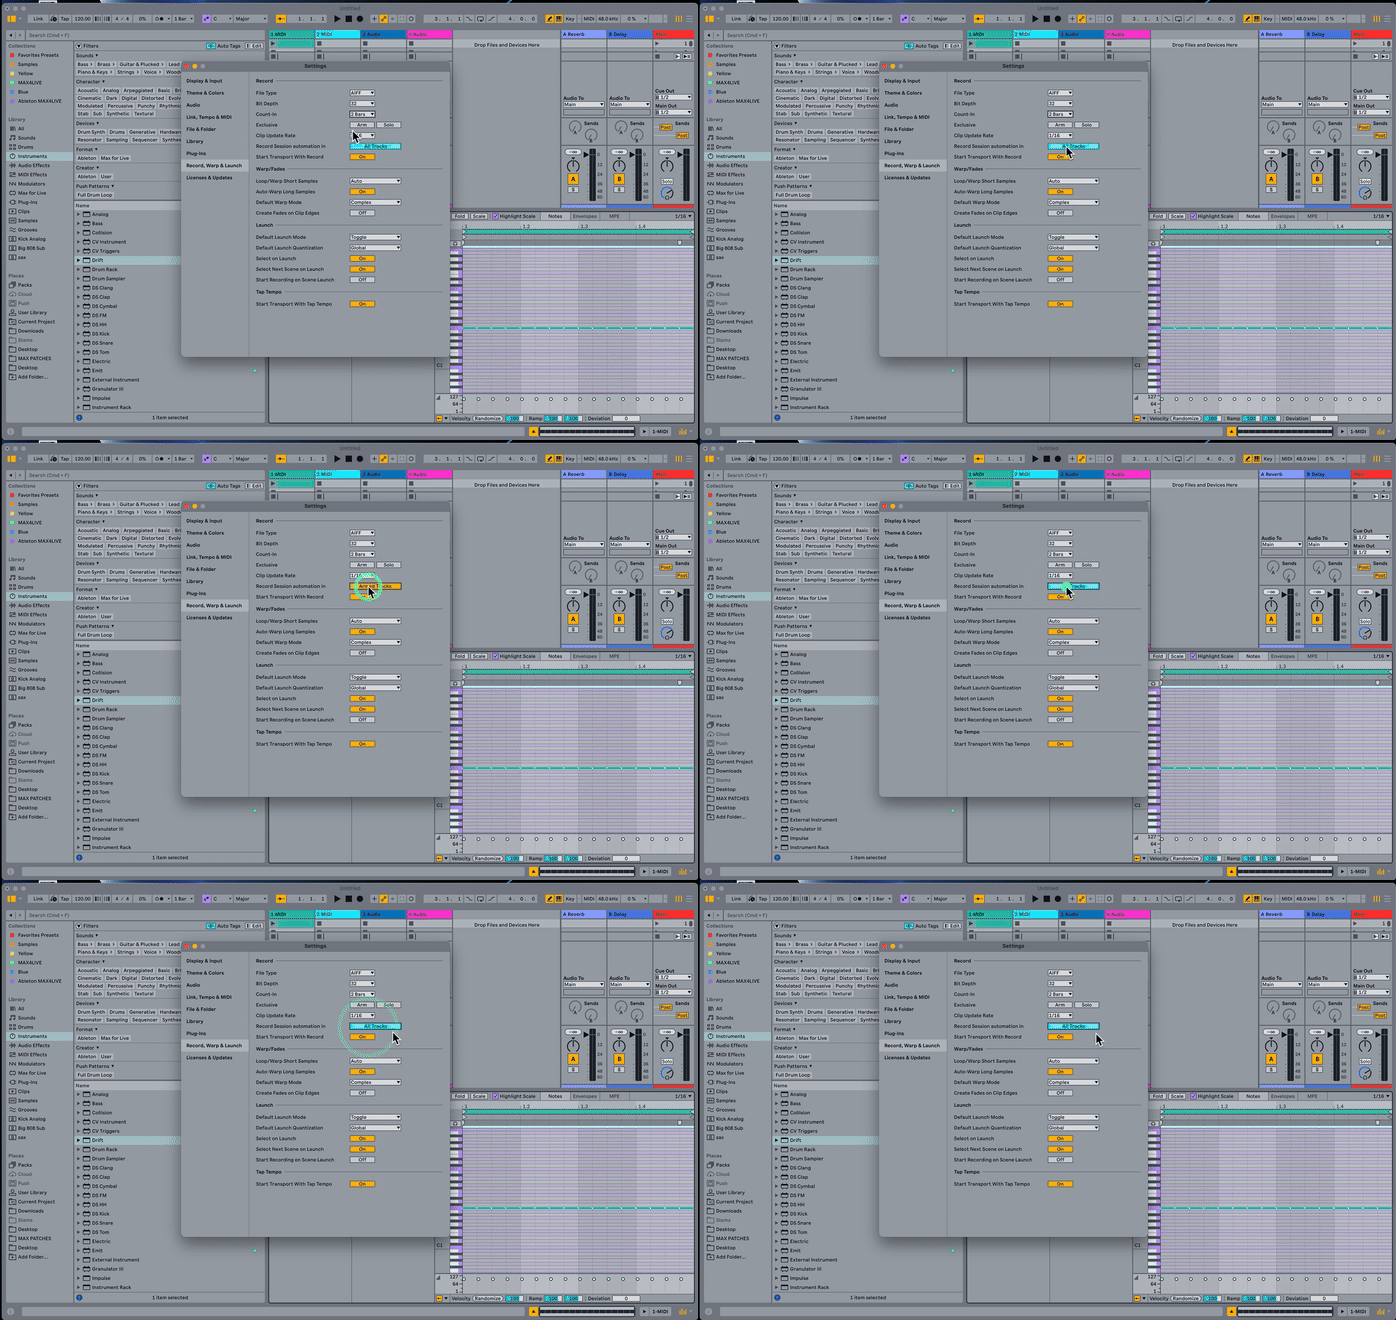
Session Automation Arm: Enable this to record automation without manually arming each track.
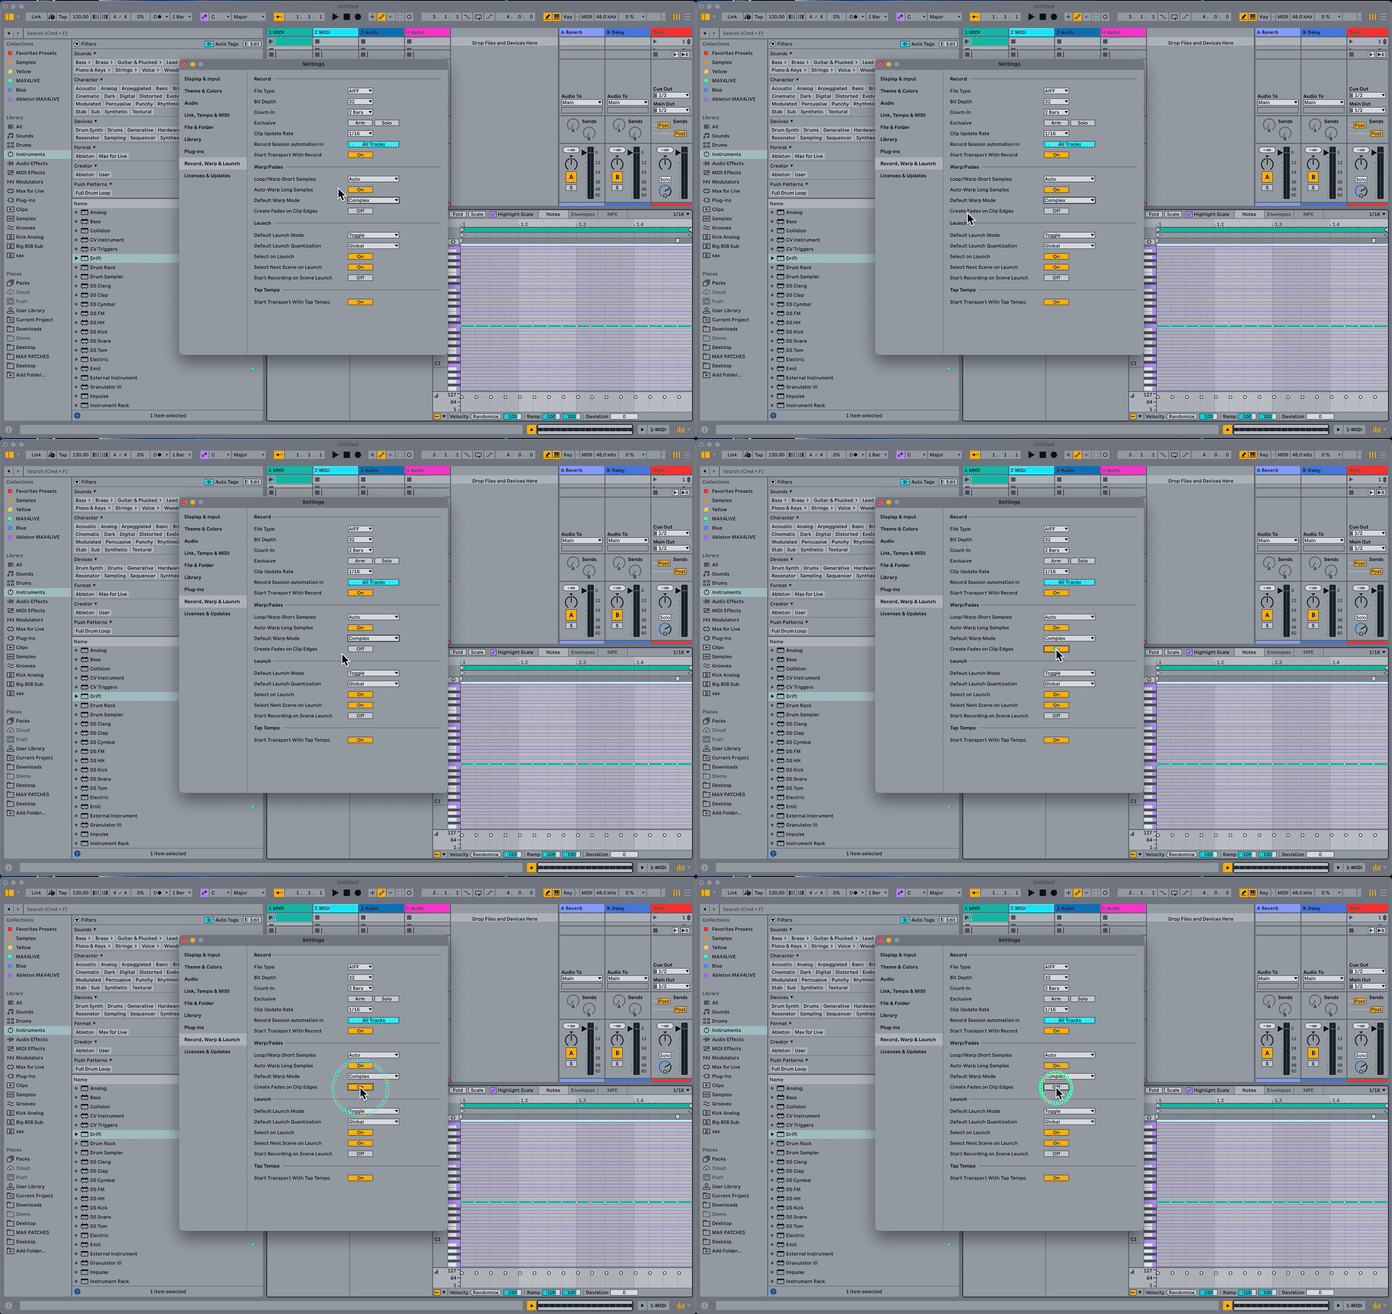
How do I optimise warp and launch settings?
Turn Off Auto-Warp for Long Samples: Prevents warping issues with full-length tracks or stems.
Set Default Warp Mode to Complex: Gives the best time-stretching quality for melodic content.
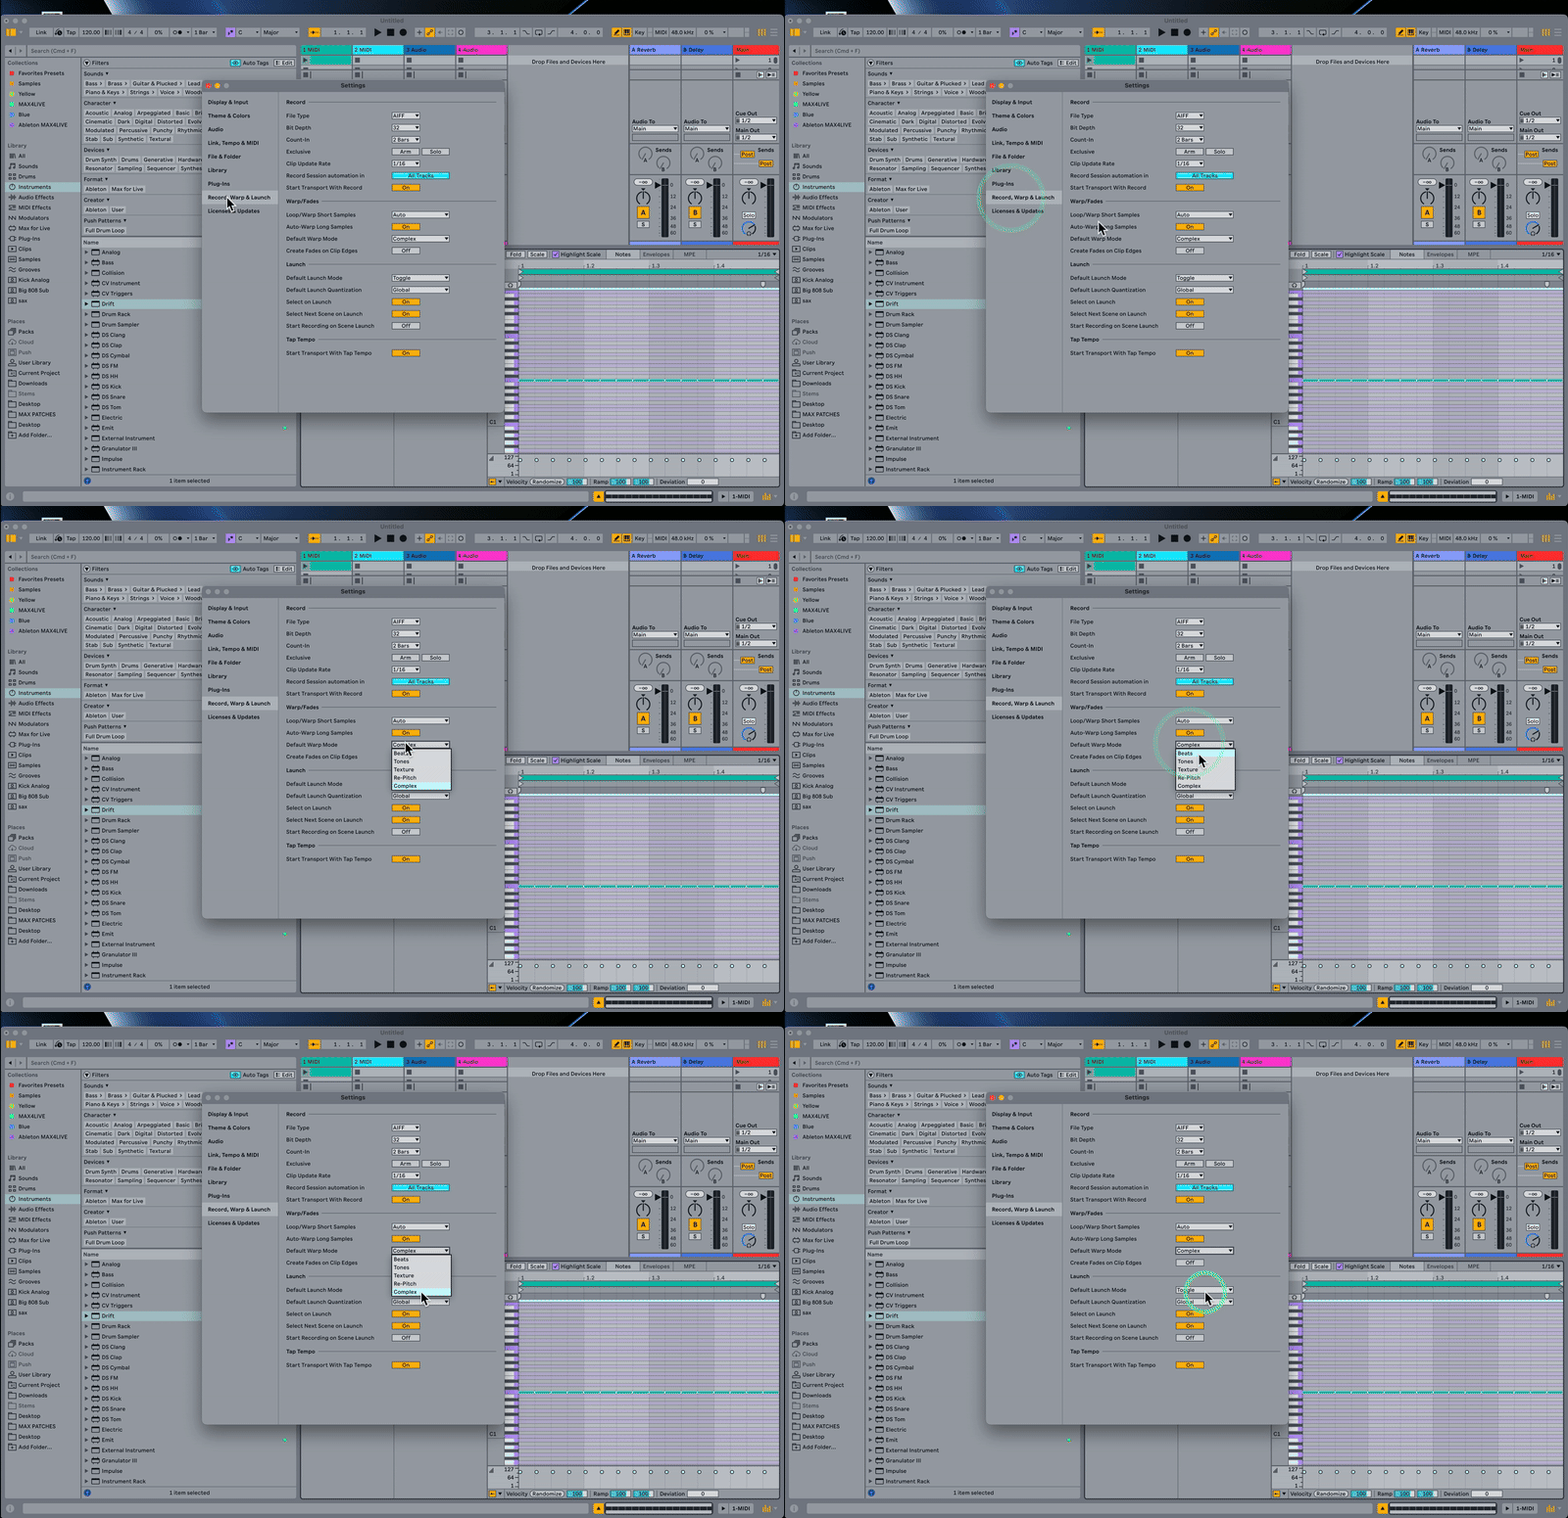
Clip Edge Fades: Disable if you want precise control over transient edges.
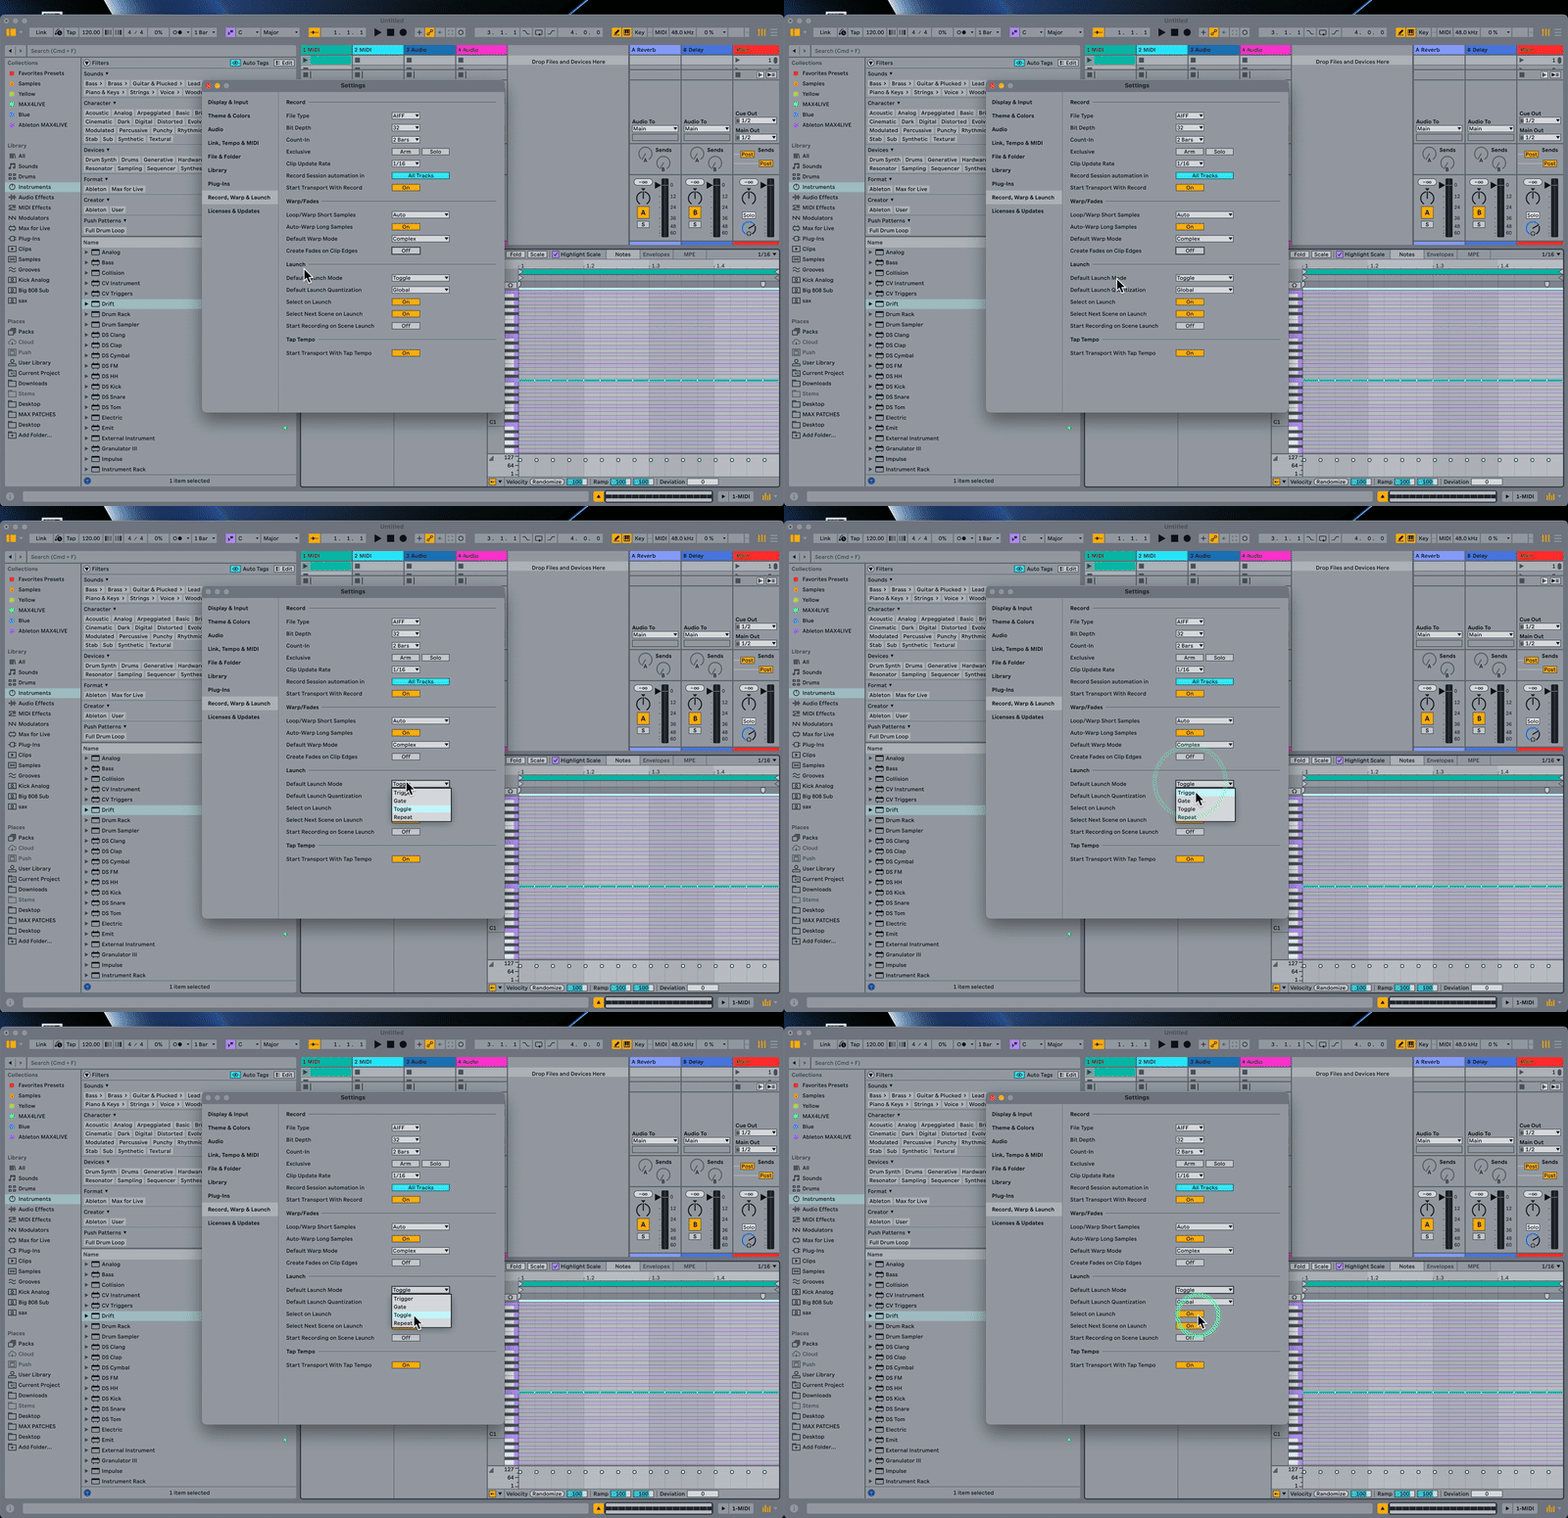
How do I customise Launch Modes for live use?
Switch clip launch from Trigger to Toggle Mode. This lets you:
-
Start/stop clips with one press
-
Simplify live performance controls
FAQ
How do I reset Ableton Live settings to default?
Go to Preferences and click Restore Defaults under each section.
Should I enable Show Scroll Bars?
Yes, especially if you use a mouse, it makes navigating smoother.
What is Pitch Lock in MIDI editing?
It keeps notes aligned to their lanes, ideal for drum editing.
Does turning off Auto-Warp affect loops?
No. It mainly affects long samples like full tracks.
Why use Toggle Mode for clip launching?
It allows single-press start/stop, perfect for live sets.
Final Recommendation
Spend 10 minutes updating these settings today. Your Ableton Live sessions will be faster, clearer, and more enjoyable to work with.
You can see these steps in action and more here:
If you are interested in learning Ableton Live 12 or the Push 3 in a bit more detail, check the course here:

